 Clara•🕑 October 8, 2026•💬 No comments
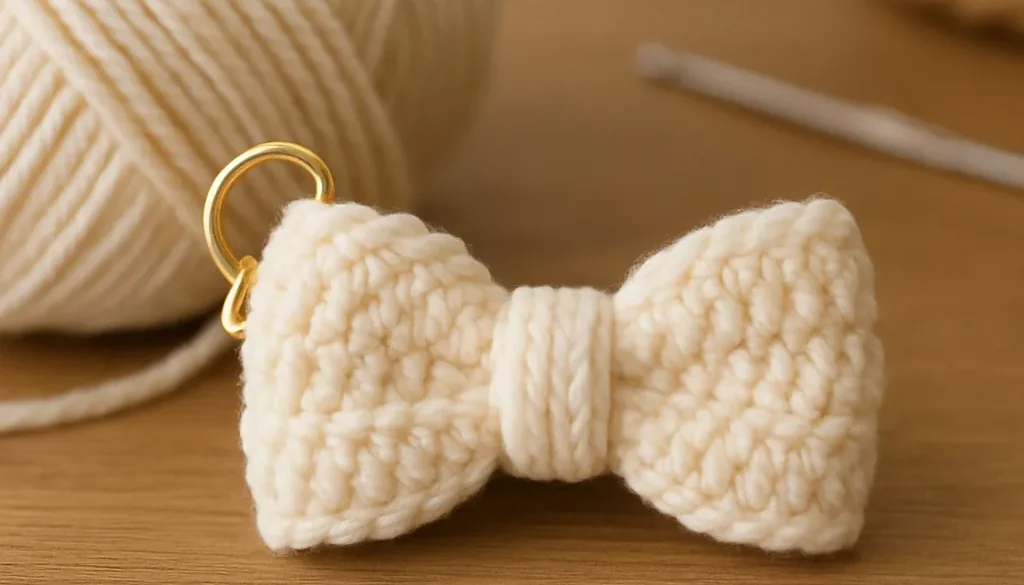
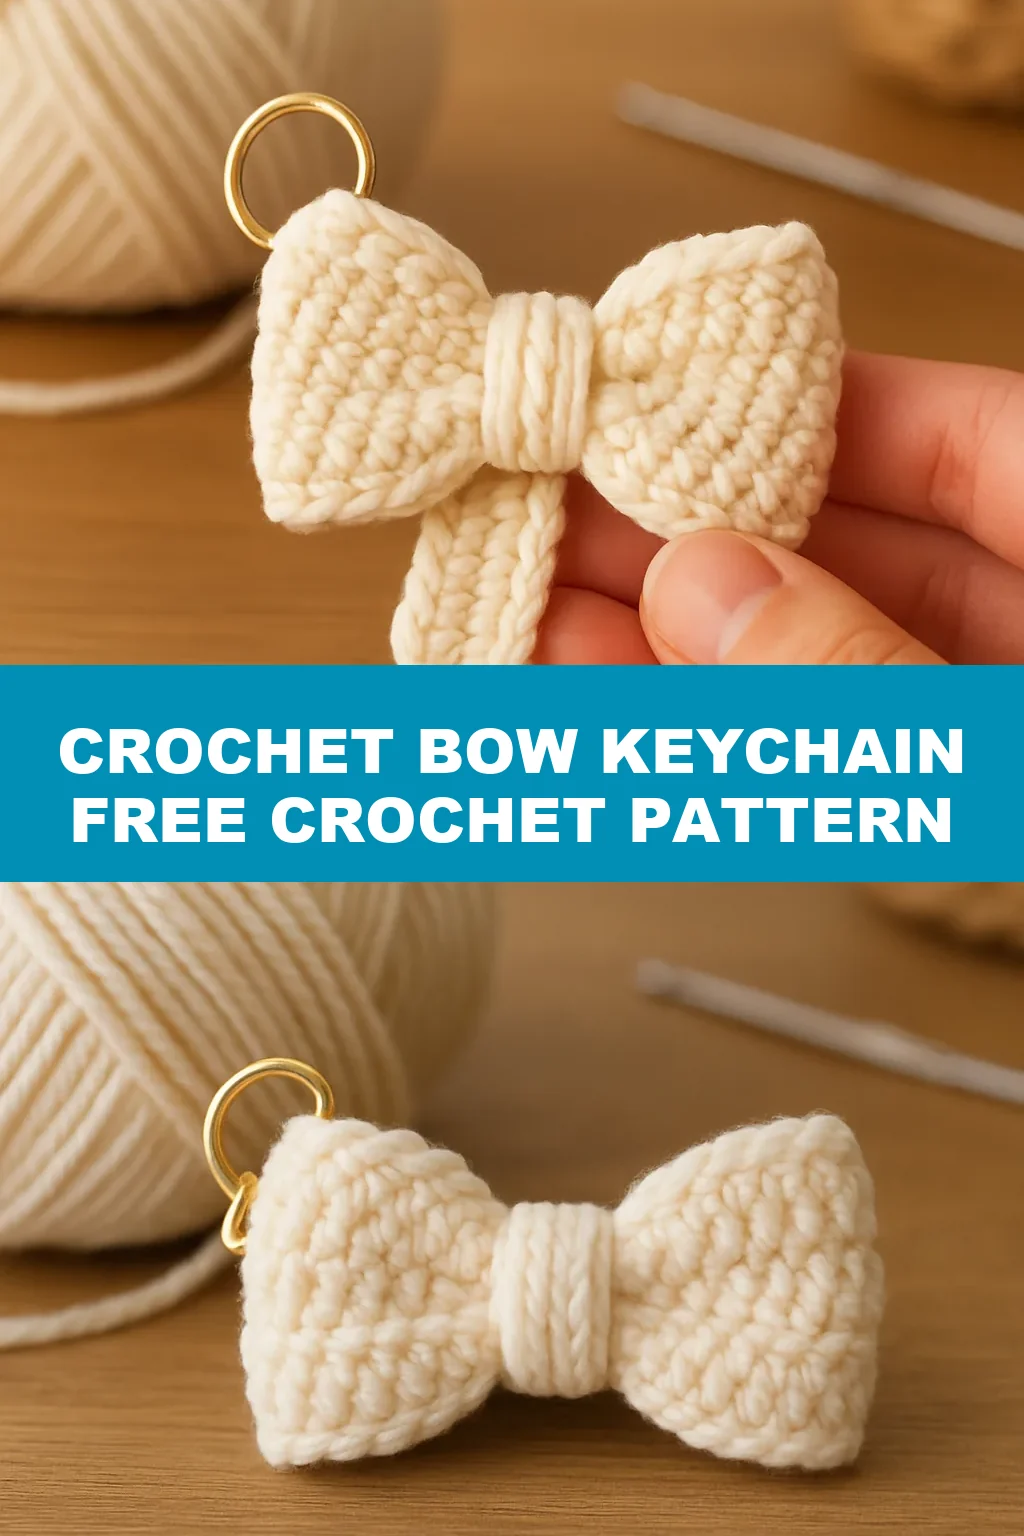
A crochet bow keychain starts as two plain rectangles of single crochet, and the part that makes it look like a bow comes entirely from how you fold and wrap them. This guide gives you the stitch counts for a 7.5 cm bow, the assembly order, the sizing rules for making it bigger or smaller, and 9 ideas for what to make next. If your first attempt came out lopsided or the wrap kept slipping, the fixes are below.
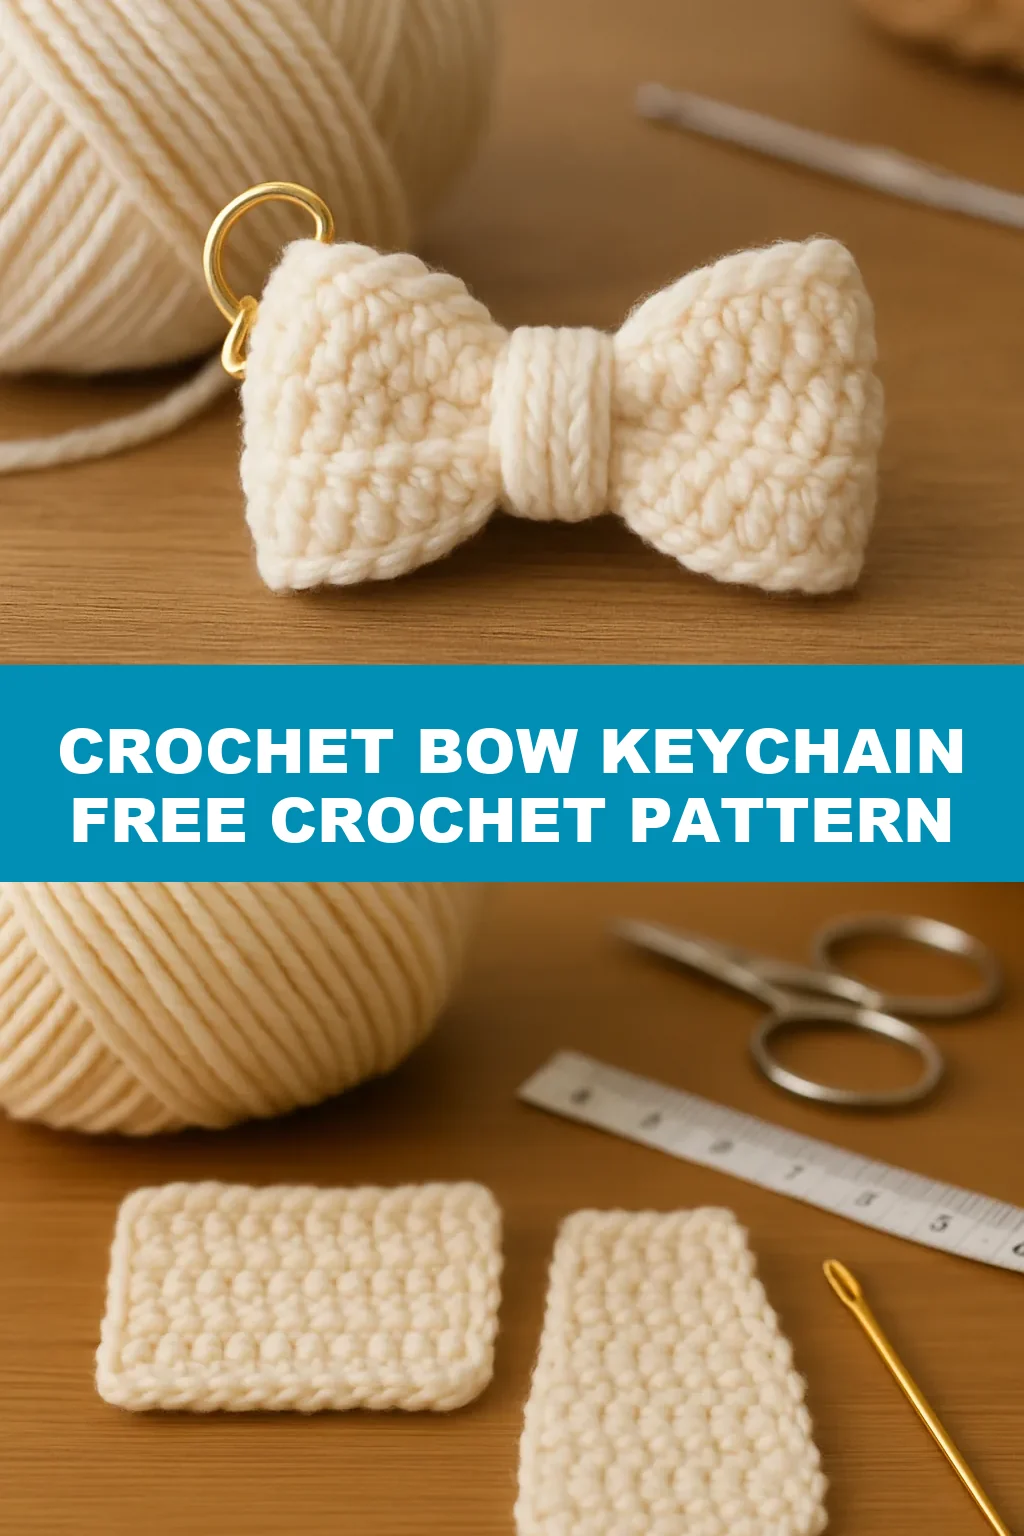
Crochet Bow Keychain at a Glance
- Skill level: beginner, using only chain and single crochet
- Time: 30 to 45 minutes
- Yarn: about
6 gof number 4 (medium weight) yarn - Hook:
5.5 mm - Finished size:
7.5 cmwide by9 cmlong - Pieces: a top piece and a tail piece, both
20 scwide and 4 rows deep
What You Need for a Crochet Bow Keychain
- Medium weight yarn in any colour. The sample bow uses Red Heart Super Saver in Aran, a worsted weight acrylic.
- A
5.5 mmcrochet hook - A yarn needle and scissors
- A keychain clasp or split ring. A clasp that opens by hand is easier than a split ring, which needs pliers.
Weight matters if you want the same size as the sample. A thinner yarn on the same hook gives a smaller bow, and a bulky yarn gives a larger, floppier one.
Crochet Abbreviations Used
| Abbreviation | Meaning (US terms) |
|---|---|
ch |
chain |
sc |
single crochet |
Every stitch in this pattern is in US terms. A UK double crochet is the same stitch as a US single crochet, so UK crocheters can work it exactly as written.
How to Crochet the Top Piece
The top piece becomes the two loops of the bow, so it is the one that needs a long tail of yarn left at the end.
- Make a slip knot, then
ch 21. - Row 1: work
1 scinto the second chain from the hook, then1 scinto each chain across. You have20 sc. - Rows 2 to 4:
ch 1, turn, then1 scinto each stitch across, ending with a stitch in the very last stitch of the row. Each row stays at20 sc. - Fasten off with a long tail, about
45 cm(a foot and a half), before you cut the yarn. This tail does the seaming and the wrapping later.
Skipping the first chain from the hook is the reason you chain 21 for 20 stitches. At the end of each row, look for the last V at the edge. It is easy to miss, and missing it leaves the edge slanting and the count at 19.
Counting your stitches
Count the V shapes across the top of the row rather than the loops on the hook. The turning chain does not count as a stitch, and you work your first stitch into the V beside it, not into the chain itself.
How to Crochet the Tail Piece
Work a second piece the same way: ch 21, 20 sc across, and 3 more rows of 20 sc. The only change is the finish. Fasten off with an ordinary short tail, since this piece needs no long length of yarn.
Both pieces are plain rectangles, which means you can change either one on its own. Fewer chains makes it narrower, more chains makes it longer, and extra rows make it deeper. The sizing table below turns that into a quick reference.
Watch the Seaming and Wrapping
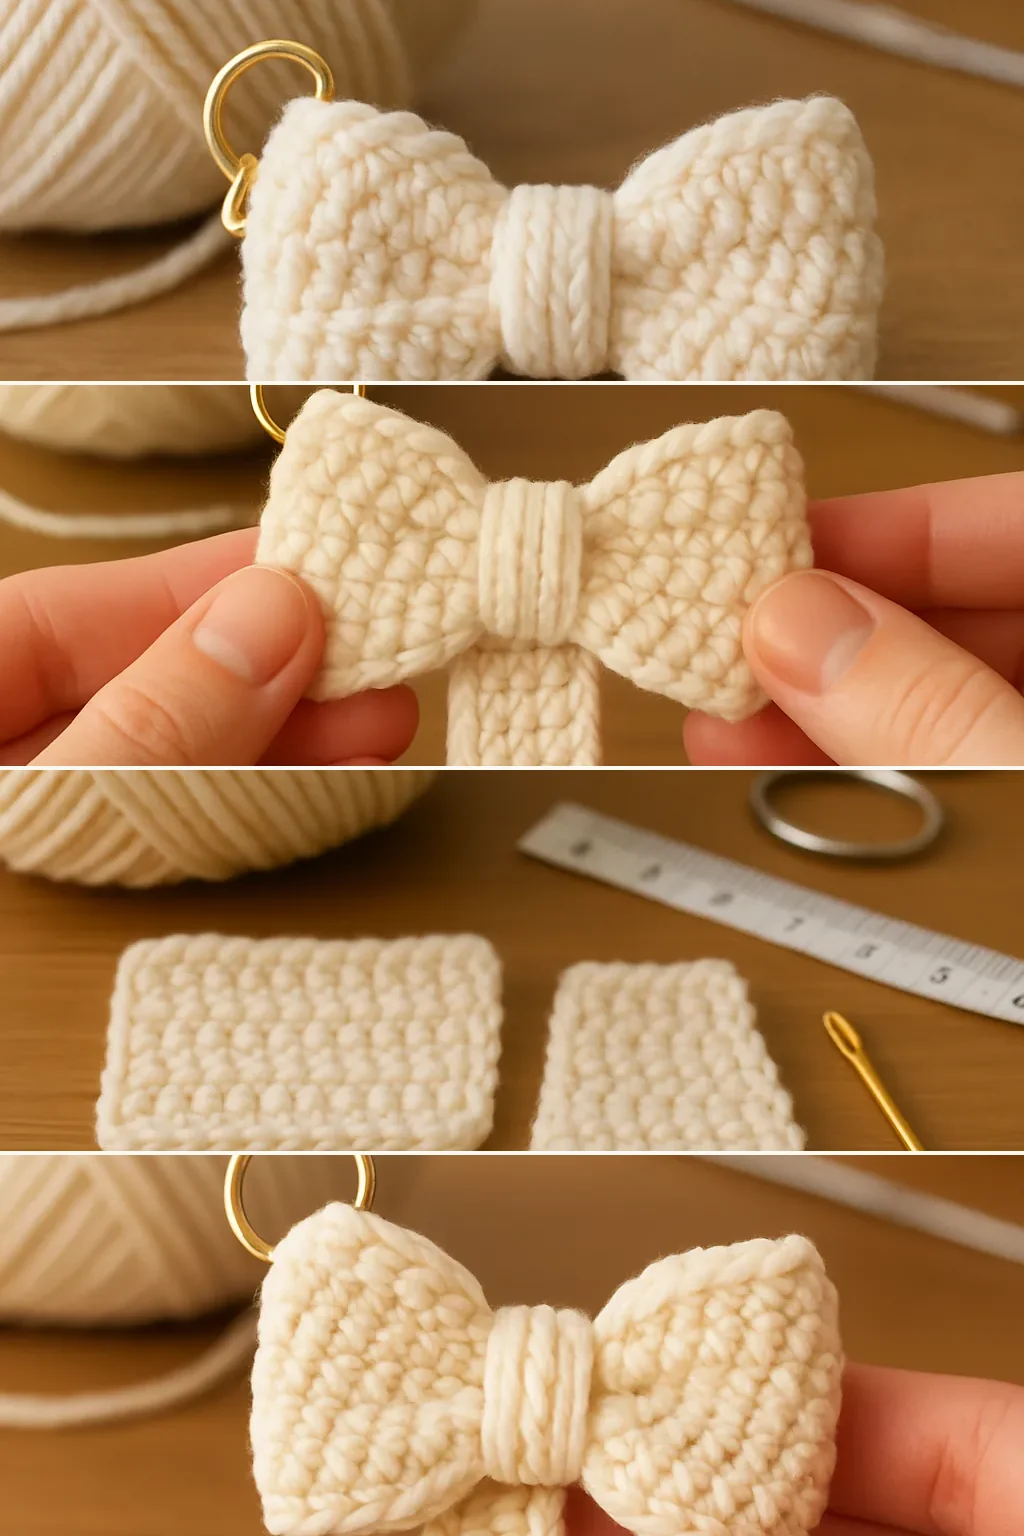
The assembly is the step that is easier to watch than to read, because the wrap goes around the back of the bow in a way that is hard to picture from a sentence.
How to Assemble the Bow
- Weave in the two short ends on the tail piece with the yarn needle, running each tail under the loops of the stitches and trimming it close. Leave the long tail on the top piece alone.
- Fold the top piece in half so the two short ends meet. Thread the long tail onto the yarn needle and sew the two ends together, going under one loop on each side as you work along.
- Turn the piece so the seam sits in the middle at the back. Wrap the long tail once around the centre, then tie two knots to hold it.
- Fold the tail piece in half to find its middle, then fold the top of it down.
- Lay the top piece, knot side facing the back, on the tail piece and centre it.
- Wrap the long yarn tightly around the middle of both pieces several times, tightening after the first couple of turns, then tie two knots at the back.
- Weave in the last two ends along the tail, trim them, and pull the loops into shape so the ends sit slightly longer than the middle.
The seam and the knots all end up hidden at the back, under the wrap. That is why the first wrap goes across the centre before the tail piece joins in.
Adding the Keyring or Clasp
Open your clasp, then slide its ring through the middle at the top of the bow, underneath the strands of yarn wrapped around the centre. A yarn needle held in the split ring can keep it open while you work it through. Hanging the bow from the wrapped strands instead of the fabric keeps the stitches from stretching when the keychain is pulled.
Why the Wrap Makes the Bow Shape
Nothing in either rectangle is shaped. There are no increases, no decreases and no special stitches, so the bow comes entirely from three structural moves: folding the top piece into a ring, pinching it with the wrap, and laying it across the tail piece.
Folding the top piece in half and seaming the short ends turns a flat strip into a loop. When you centre the seam at the back and wrap the middle, the loop is squeezed into two rounded halves, and the rows of single crochet run across each half like pleats. This is why a wider band, with more rows, gives taller loops: there is more fabric to be gathered into the same pinch.
The tail piece sits behind the top piece and is folded down at its top. Folding it creates the two ribbon ends that hang below the bow, and wrapping the yarn around both pieces together locks them in place without any further sewing. The number of times you wrap controls how tight the centre is. A few wraps give a soft, gathered centre, while more wraps build a narrow, firm waist.
Choosing Yarn and Hook for a Crochet Bow Keychain
The sample uses a 5.5 mm hook with number 4 medium weight yarn, which is a deliberately loose pairing for worsted. The fabric stays soft enough to fold and wrap, and it still holds its shape because single crochet is a dense stitch.
| Yarn | Effect | Best for |
|---|---|---|
| Worsted acrylic | Soft, easy to fold, good colour range | Everyday keychains |
| Worsted cotton | Firmer, crisper edges, less stretch | Bags that get handled daily |
| Lighter yarn on the same hook | Smaller, more flexible bow | Mini bows |
| Chunkier yarn | Larger, slouchier bow | Decorative toppers |
Choose a smooth, plain yarn for your first one. Fluffy or variegated yarn hides the V shapes at the top of each row, and those V shapes are what you count and work into. Once the pattern feels familiar, switch to whatever colour or texture you like.
Gauge, Sizing and Measurements
The sample pattern gives about 14 single crochets and 11.5 rows to a 10 cm square on a 5.5 mm hook. Use that to plan any size you want.
| Change | Effect on the bow |
|---|---|
Fewer than ch 21 (for example ch 16) |
Narrower pieces and a smaller bow |
More than ch 21 |
Longer pieces and a larger bow |
| More than 4 rows | A wider band, so the loops stand up taller |
| Fewer than 4 rows | A thinner band and a more delicate bow |
| Longer tail piece only | Longer ribbon ends hanging below the bow |
| Thinner yarn on the same hook | A smaller, softer fabric |
Common Problems and Fixes
The edges slant
You have missed the last stitch of a row. Count back along the top to find the final V and work into it. Each row should end with 20 stitches.
The wrap loosens
The wrapping yarn needs tightening after the first couple of turns, and two knots, not one, at the back. If it still loosens, take a few stitches through the wrap and the fabric behind it before weaving in the ends.
The bow is the wrong size
Check the yarn weight and hook first, because a thinner or thicker yarn changes the size more than a few stitches do. After that, adjust the chain count, then the rows.
The bow looks flat
Pull the loops apart gently after assembly and fold the ends slightly longer than the middle. Fabric that has been squashed flat in a pocket takes the same treatment to bring back its shape.
9 Crochet Bow Keychain Ideas
Once the standard bow makes sense, the same two-rectangle method gives you all of these. Each one changes only the chain count, rows, yarn or finish.
1. Classic Cream Bow
The pattern below, made exactly as written in a neutral worsted yarn. It teaches the whole sequence of band, fold, seam and wrap, and every later idea starts here.
Beginner · 40 minutes · about 8 g of worsted
2. Mini Bow for Zip Pulls
Chain 16 and work fewer rows for a bow roughly two thirds the size. It fits on a pencil case zip or a small bag, and it shows how far the chain count alone changes the finished size.
Beginner · 25 minutes · about 4 g of worsted
3. Oversized Bag Charm Bow
Chain 31 and work 6 rows for each piece. The longer band folds into big loops that read as a statement accessory on a tote, and the extra length makes the seam easier to sew neatly.
Beginner · 1 hour · about 18 g of worsted
4. Long Tail Ribbon Bow
Make the tail piece with 31 chains and keep the top piece at 21. The longer tail hangs below the bow like ribbon ends, which suits a gift topper or a tote handle.
Beginner · 45 minutes · about 10 g of worsted
5. Two-Colour Contrast Bow
Work the top piece in one colour and the tail in another, then wrap with whichever you prefer. It teaches you that the wrapping yarn is the long tail of the top piece, so that colour shows at the centre.
Beginner · 40 minutes · about 8 g across two colours
6. Wide Band Bow
Add two extra rows to each piece for a chunkier, fuller bow. More rows make the band wider, so the folded loops stand up taller and the finished bow feels sturdier.
Beginner · 55 minutes · about 12 g of worsted
7. Scrap Yarn Cluster
Make three small bows in different colours and clip them onto one ring. It uses up short leftover lengths and gives you practice at judging how much tail to leave for wrapping.
Beginner · 1.5 hours · about 15 g of mixed scraps
8. Pastel Hair Clip Bow
Make the standard bow in a soft pastel and sew a small barrette to the back of the wrapped centre instead of a keyring. It shows how the same construction becomes an accessory for hair.
Beginner · 50 minutes · about 8 g of worsted
9. Christmas Gift Topper Bow
Make a red or green bow with a longer tail and tie it to the top of a wrapped present. You can also tuck a few onto a crochet Christmas garland for a matching set.
Beginner · 45 minutes · about 10 g of worsted
Frequently Asked Questions
How long does a crochet bow keychain take?
About 30 to 45 minutes for the standard bow: two small rectangles take roughly 10 to 15 minutes each, and sewing and wrapping take another 10 to 15.
How much yarn does a crochet bow keychain use?
The standard 7.5 cm bow uses around 6 to 10 g of worsted weight yarn, so one 100 g skein covers a dozen or more.
What hook size is best for a crochet bow keychain?
A 5.5 mm hook with worsted weight yarn, which gives a fabric that is tight enough to hold its shape and soft enough to fold.
Can I make the bow bigger or smaller?
Yes. Chain fewer than 21 for a smaller bow or more for a larger one, and add or remove rows to change how wide the band is.
Why do I end up with 21 chains but only 20 stitches?
The first single crochet goes into the second chain from the hook, so the chain nearest the hook is skipped. Chain one more than the stitches you want.
Do the tail and top piece have to be the same size?
No. Making the tail longer or shorter changes the look, and the video’s method lets you change either piece on its own.
How do I stop the bow from coming undone?
Tie two knots every time you finish a wrap, and pull the wrapping yarn firmly before knotting. Weave the remaining ends into the tail piece.
How do I attach the bow to a keyring?
Open the keyring or clasp, then slide its ring under the strands of yarn wrapped around the middle of the top piece. A swivel clasp that opens without pliers makes this easier.
Can I use a different yarn?
Any yarn works, but only a number 4 medium weight yarn on a 5.5 mm hook gives the 7.5 cm by 9 cm size. A thinner yarn gives a smaller bow.
Final Thoughts
Make the standard bow first: ch 21, four rows, two pieces, then fold, sew and wrap. After that you can change one thing at a time, such as the chain count, the tail length or the colour, and see exactly what it does. Most people have a second bow finished before the first one has stopped feeling new.