 Clara•🕑 October 20, 2026•💬 No comments
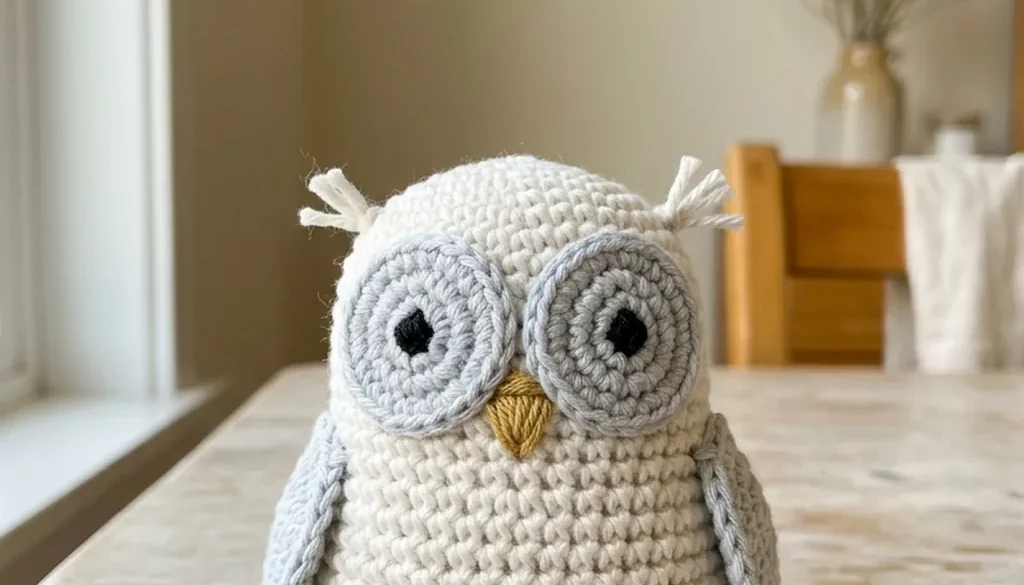
An owl is the amigurumi that looks hardest and is nearly the easiest. It has no legs to set at an angle, no neck to get wrong and no tail to balance — it is a rounded body with a face sewn onto the front of it.
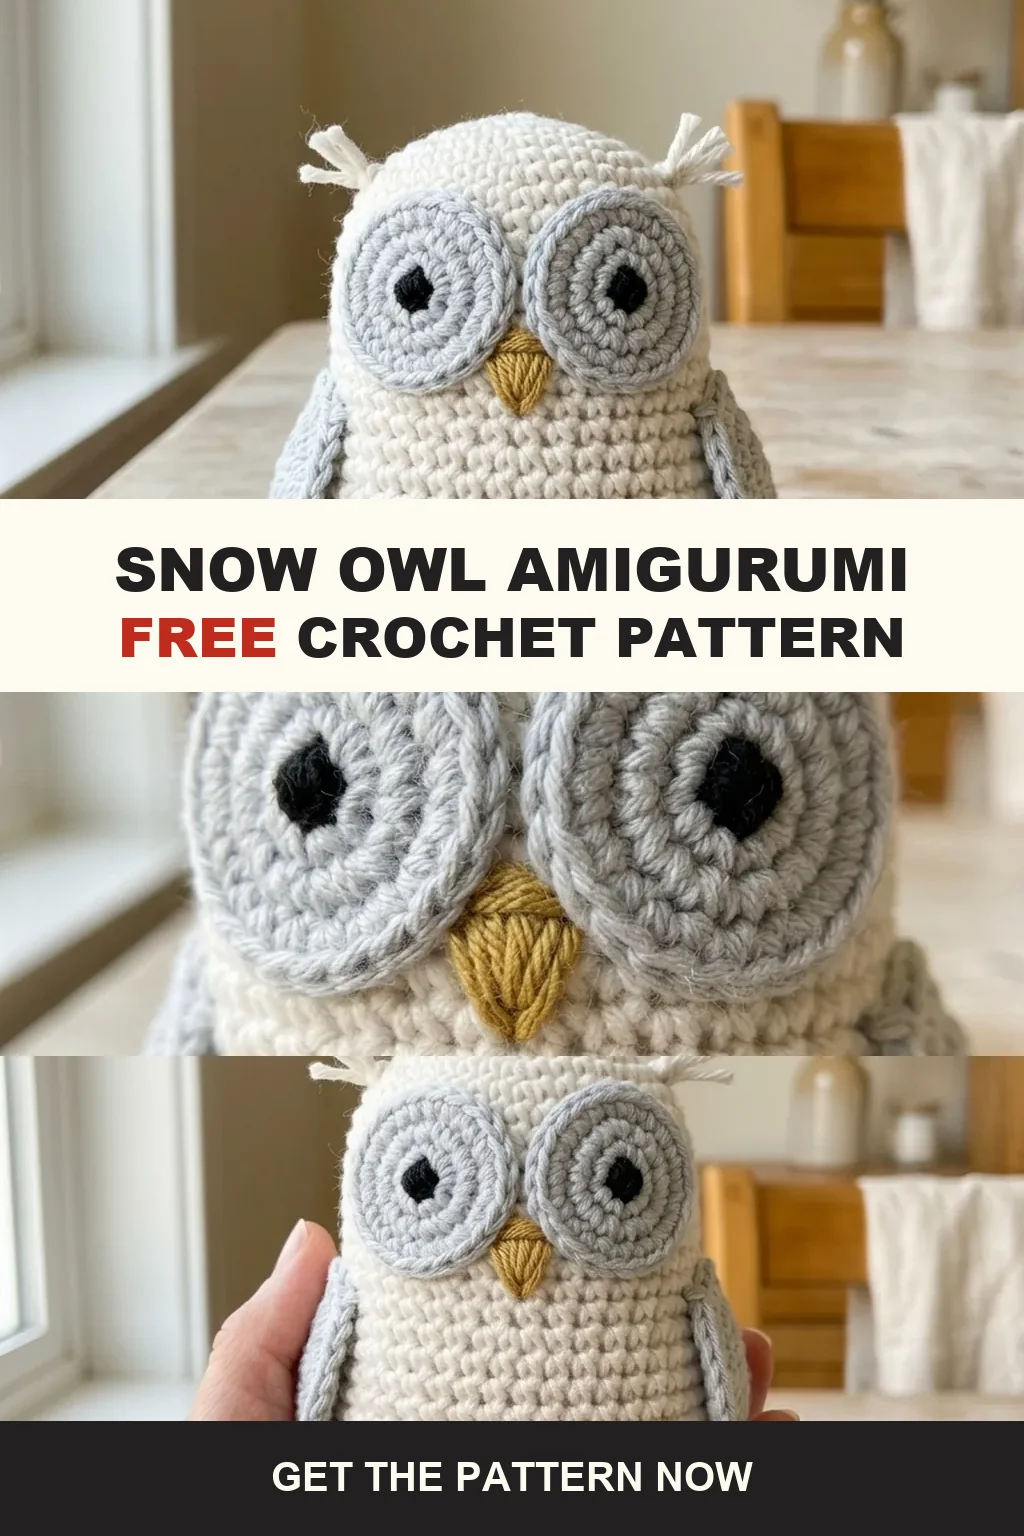
What makes an owl an owl is two flat discs. The eyes are worked as separate circles and sewn on so they touch in the middle, and that single detail does more for the finished piece than everything else combined. Get the discs right and the rest is decoration.
This is the snow owl amigurumi crochet pattern, written with Christmas in mind: the construction, the assembly order that matters, and a timeline for making several as gifts.
Snow Owl Amigurumi at a Glance
| Skill level | Beginner — magic ring, sc, inc, dec |
| Yarn | DK or worsted, white and pale grey |
| Hook | One or two sizes below the label |
| Time | 3–4 hours |
| Pieces | Body, 2 eye discs, beak, 2 wings, 2 feet |
| Finished | 4 in in DK, 6 in in chunky |
Why an Owl Suits a Christmas Run
If you are making a batch of handmade gifts, the question that matters is not how long one takes but how reliably the tenth matches the first.
An owl is forgiving on that count. There are no limbs to position symmetrically, which is where a batch of amigurumi usually drifts — one bear’s arms sit higher than the next and the set stops looking like a set. An owl’s wings lie flat against the sides and its feet sit under the front, so there are only two placement decisions and both are easy to repeat.
A snow owl in white and pale grey also reads as winter rather than as Christmas specifically, which means it stays on a shelf in January instead of going into a box with the decorations.
The timeline
| Making | Hours | Start by | Yarn |
|---|---|---|---|
| One owl | 3–4 | mid December | 60 yds |
| A set of three | 10 | early December | 170 yds |
| Six gifts | 20 | mid November | 330 yds |
| A dozen, for a fair | 40 | late October | 650 yds |
Those start dates assume a few evenings a week rather than a free weekend, and they leave room for the one that goes wrong. The same arithmetic applies to any repeated seasonal make — a crochet Christmas garland is the other project where the count, not the difficulty, decides when you have to start.
Materials
- White — 45 yards of DK for the body.
- Pale grey — 15 yards for the wings and the eye discs.
- Soft gold or amber — a few yards for the beak.
- Black embroidery thread, or 8–10 mm safety eyes. Which one depends entirely on who it is for — see the safety section.
- Hook one or two sizes below the yarn band. 3.0 mm with DK rather than 4.0 mm.
- Polyester fibrefill, about a handful.
- Stitch marker and a tapestry needle.
White shows every flaw, which is worth knowing before you start. A very slightly off-white or a pale cream is more forgiving and still reads as a snow owl.
The Body
One piece, worked in a continuous spiral from the top down. No joining, no turning chains, and a marker moved to the first stitch of every round.
- Magic ring, 6 single crochet.
- Round 2: 2 sc in each stitch. (12)
- Round 3: 1 sc, 2 sc in the next, repeated. (18)
- Round 4: 2 sc, 2 sc in the next, repeated. (24)
- Round 5: 3 sc, 2 sc in the next, repeated. (30)
- Rounds 6–16: 1 sc in every stitch, no increases.
- Then reverse: 3 sc and a decrease (24), 2 sc and a decrease (18), 1 sc and a decrease (12), decrease around (6).
- Thread the tail through the last six stitches and pull closed.
An owl is a single rounded shape rather than a head on a body, so the straight section is longer than it would be for a ball — eleven rounds rather than five. That length is what gives it the upright, slightly pear-shaped silhouette.
Stuff when the decreases are about halfway done, in small pinches rather than one wad, firmly enough to hold a shape but not so firm the stitches stretch apart.
The Face: Two Flat Discs
This is the part that makes it an owl, and it is three rounds.
- Magic ring in pale grey, 6 single crochet.
- Round 2: 2 sc in each stitch. (12)
- Round 3: 1 sc, 2 sc in the next, repeated. (18)
- Slip stitch to close and fasten off, leaving a long tail.
Make two. Then, before sewing either one on, push the eye through the centre of its disc. Working a safety eye through a disc already attached to the body is close to impossible, and an embroidered eye is far easier to place neatly on a flat circle in your hand than on a curved stuffed surface.
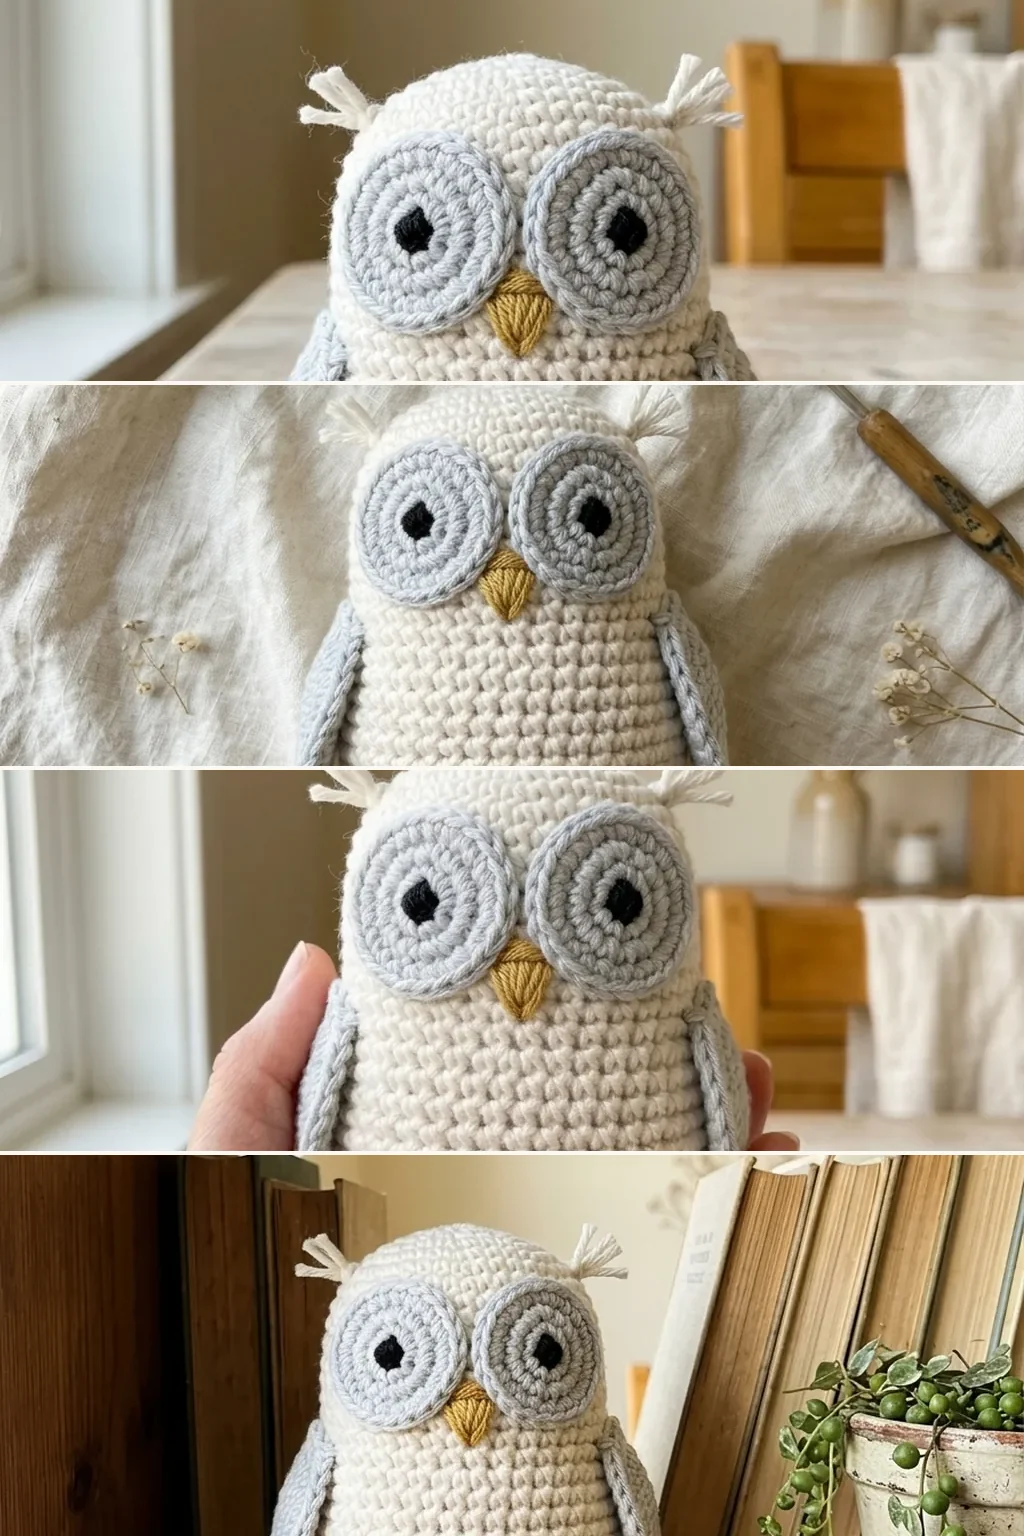
Sew the discs to the front of the body so they touch slightly in the middle. Not spaced apart — touching. Two discs with a gap between them read as a generic animal; two discs meeting in the centre read as an owl, and the distance between them is the single most important measurement on the whole piece.
The Beak
A small triangle in gold. Chain 4, then work rows of single crochet decreasing by one stitch at each end until two stitches remain, and fasten off.
Stuff it very lightly — a few fibres, enough to stop it lying flat — and sew it centred between the inner edges of the two eye discs, with the tip pointing down.
A beak that sits below the discs rather than between them makes the face look long. Tucked into the point where the two circles meet is where it belongs.
Ear Tufts
Two approaches, and they give noticeably different owls.
Crocheted cones. A magic ring of 4 single crochet, then two or three rounds worked straight, sewn above each eye disc. Neat, deliberate, and the right choice if the owl is going to a child — there is nothing to pull loose.
Yarn fringe. Cut several short strands, fold them in half, loop the fold through a stitch above the eye and pull the ends through the loop to knot it, then trim to a spiky length. Softer and more realistic, and much faster.
Either way, set them above the outer edge of each disc, not above the centre. Tufts placed centrally make the owl look startled.
Wings and Feet
Wings are flat and unstuffed. Work an oval the same way as a bootie sole — a chain, single crochet along both sides with increases at the ends — in pale grey, two or three rounds, then flatten completely.
Sew each wing along the body side at roughly a 30 degree angle, tips pointing downward and slightly outward. Attach along the whole top edge of the wing rather than at one point, so it hinges against the body instead of swinging.
Feet are three small toes per foot, joined side by side. Chain 4, slip stitch back along it, three times, then stitch the three together at their base.
Sew both feet to the front underside so they protrude slightly forward. That is what lets the owl sit upright instead of rolling — the feet are structural, not decorative.
Assembly Order
The order matters more than it sounds, because each step is harder once the one after it is done.
- Eyes into the discs — while the discs are flat and loose.
- Discs onto the body, touching in the middle.
- Beak, between the inner edges.
- Ear tufts, above the outer edges.
- Wings, along the sides.
- Feet, at the front underside.
- Reshape by hand — roll the body between your palms and press the base flat so it sits.
The last step is not optional and takes ten seconds. A stuffed body comes off the hook slightly lopsided every time, and working it between your hands is what makes a batch look consistent.
Safety: Who Is It For
For a child under three, embroider the eyes. Do not use safety eyes.
The name describes how they attach, not who they suit. In the US the small-parts rule covers toys intended for under-threes, and a safety eye is exactly the kind of component it excludes. Two French knots or a small satin-stitch oval on each disc give an owl more character than plastic does, and nothing can be worked loose.
If you are using safety eyes for an older child or an adult: 8 to 10 mm on a 4-inch owl, pushed through the disc centre before attaching, and the washer pressed on hard from behind. It does not come off, so check the position from arm’s length first.
The same rule decides the eyes on a honey bumblebee amigurumi, and it applies to anything with a sewn-on part destined for a small child.
12 Snow Owl Amigurumi Ideas
1. Classic Snow Owl
White body, pale grey wings and discs, gold beak, crocheted ear tufts.
Use an off-white rather than optical white. Pure white shows every uneven stitch.
Beginner · 3.5 hours · 60 yds
2. Keyring Owl
The same construction in 4-ply on a 2.0 mm hook, finishing about 2 inches, with a swivel clasp.
Embroider the eyes at this size whoever it is for. A safety eye takes up half the face.
Beginner · 90 min · 25 yds
3. Chenille Cuddle Owl
Chunky chenille on a 5.0 mm hook, finishing around 6 inches and weighing almost nothing.
Count obsessively. Chenille hides stitch definition and you cannot read your rounds back.
Beginner · 3 hours · 90 yds
4. Barn Owl Colourway
Cream body with a warm tan back and wings, and a heart-shaped face made from two overlapping discs.
Overlap the discs by two stitches rather than touching, which gives the heart shape.
Beginner · 3.5 hours · 60 yds
5. Owl With a Santa Hat
A small red cone with a white brim and a pompom, sewn on at a tilt.
Sew it to one side rather than straight on top. A centred hat looks like a party hat.
Beginner · 4 hours · 75 yds
6. Tree Ornament
A 2.5-inch owl with a loop worked into the top of the head, lightly stuffed so it hangs flat.
Work the loop in before closing the body, not sewn on after.
Beginner · 2 hours · 35 yds
7. Owl Family in Three Sizes
The identical pattern at 2, 4 and 6 inches by changing only the yarn weight.
Scale the eye discs too. A full-size disc on a small owl covers the whole face.
Beginner · 8 hours · 180 yds
8. Sleeping Owl
Two curved lines of black thread on each disc instead of open eyes.
Curve them downward at the outer ends. Upward reads as a grin.
Beginner · 3.5 hours · 60 yds
9. Sage and Oatmeal Woodland Owl
A muted palette for a nursery that is not white — sage wings, oatmeal body.
Keep the beak bright. A muted beak disappears into the face entirely.
Beginner · 3.5 hours · 60 yds
10. Owl Baby Rattle
A rattle insert sealed inside the stuffing, embroidered face, no plastic anywhere outside.
Wrap the insert in fibrefill first or it migrates to one end and knocks.
Beginner · 4 hours · 65 yds
11. Set of Three for a Shelf
Three owls in graduated greys, made as a run so the tension matches across all of them.
Make all three bodies first, then all six discs. Batching the pieces keeps them consistent.
Beginner · 10 hours · 170 yds
12. Scrappy Owl
Body in whatever is left in the oddments jar, with white discs to tie it together.
Keep the discs and beak consistent across a scrappy set. The face is what makes them a family.
Beginner · 3.5 hours · 60 yds
Common Problems and Fixes
It does not look like an owl
The eye discs are too far apart. They should touch in the middle. This is the single most common fault and it is a two-minute fix while they are still only tacked on.
The stuffing shows through the fabric
The hook is too big. Go down one or two sizes and remake it. There is no fix after the fact, and on white yarn it is especially visible.
It will not sit upright
The feet are too far back, or missing. They need to protrude slightly forward of the body — they are what stops it rolling.
The wings swing about
Sewn at a single point. Stitch along the whole top edge of each wing so it hinges rather than pivots.
The face looks startled
Ear tufts set above the centre of each disc instead of the outer edge, or eyes too large. 8 to 10 mm on a 4-inch owl is the ceiling.
My batch does not match
Pieces made one owl at a time. Work all the bodies, then all the discs, then all the wings — tension drifts over an evening and batching keeps each set of pieces consistent with itself.
Working in White
White is the hardest colour to crochet in and a snow owl is made almost entirely of it, so a few things are worth knowing before you start a batch.
It shows every uneven stitch. There is no colour variation to hide behind, and a row where the tension slipped is visible from across a room. An off-white, bone or pale cream reads as a snow owl just as well and forgives far more.
It picks up everything. Wash your hands before each session, keep the work in a bag between sessions rather than on the arm of a chair, and do not work white on your lap while wearing dark trousers. A finished owl that has turned faintly grey cannot be washed back to white without flattening the stuffing.
Stuffing shows more. White fibrefill behind white yarn is the one combination where a slightly loose fabric is forgiving rather than fatal — but the reverse is also true, so if you have only cream fibrefill and bright white yarn, go down another hook size.
Washing, Gifting and Keeping Them
Hand wash only, in lukewarm water with a little wool wash. Squeeze rather than wring, press between towels, and reshape by rolling between your palms while damp. Never machine wash an amigurumi — the fabric survives and the stuffing migrates, and it does not come back.
Dry it upright on a flat surface rather than on its side, so the base stays flat and the owl still sits when it is dry.
For gifting, a paper tag tied to one foot with a length of the body yarn is enough, and it travels better than a box. If the owl is going to a small child, write what is inside it on the tag — that it is cotton or acrylic, that the eyes are embroidered, and that it should be hand washed. Those three lines are what a parent actually wants to know.
Frequently Asked Questions
How much yarn does an amigurumi owl take?
About 60 yards of DK across all colours for a 4-inch owl. A 2-inch keyring version takes 25.
Why are the eye discs worked separately?
Because two flat circles touching in the middle is what reads as an owl, and because the eye has to go through the disc before it is attached. Both are far harder on a curved stuffed surface.
How far apart should the eyes be?
Touching, or very nearly. A visible gap between the discs is the most common reason a finished owl does not look like one.
Are safety eyes safe for a baby?
No. For a child under three, embroider them. The small-parts rule covers toys for that age group and a safety eye is the kind of component it excludes.
What hook should I use?
One or two sizes below the yarn band — 3.0 mm with DK. A tight fabric is what stops the stuffing showing through.
Do I join each round?
No. Work in a continuous spiral and move a stitch marker to the first stitch of each round.
How do I make it sit upright?
The feet. Three toes per foot, sewn to the front underside so they stick out slightly forward.
Can a complete beginner make this?
Yes. Magic ring, single crochet, increase and decrease, and no limbs to position. It is an easier first project than most animals.
How long does one owl take?
Three to four hours, and the face is more than half of it. The body itself is about ninety minutes.
When should I start if I am making them as gifts?
Mid November for six, late October for a dozen. One owl can be done in a December evening.
Final Thoughts
Make the two eye discs before the body. They are three rounds each, they tell you whether your hook is right, and they are the part the whole piece depends on — a finished body with badly placed discs is a worse outcome than a spare pair of discs.
Then tack the discs on with two stitches and look at the owl from across the room before sewing them properly. Eye spacing is the one thing you cannot judge at arm’s length, and it is the one thing that decides whether anyone recognises what you made.