 Clara•🕑 October 7, 2026•💬 No comments
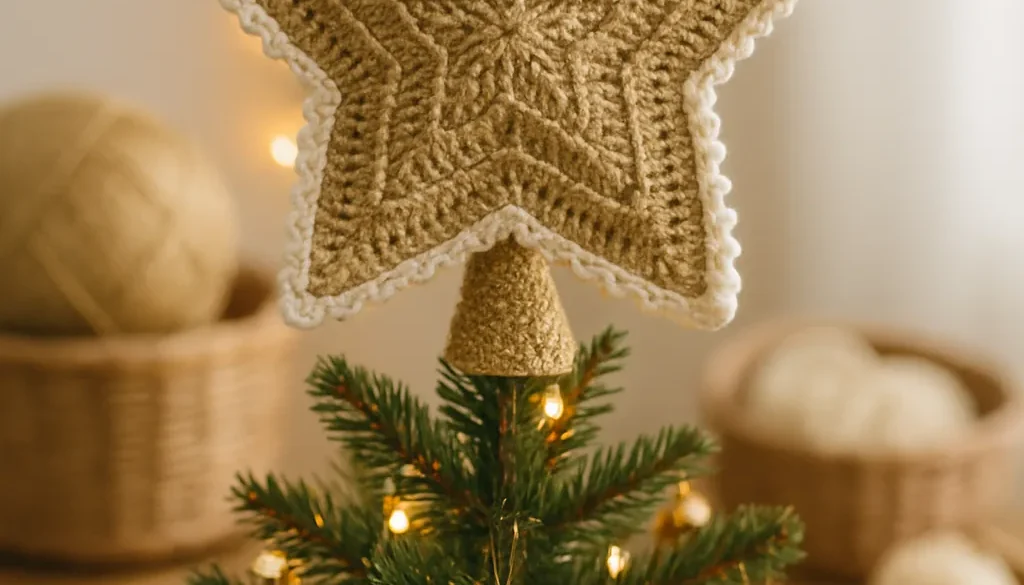
A gold star tree topper crochet pattern solves a problem most people do not notice until December: shop-bought toppers are heavy, and a heavy topper makes the whole top of the tree lean. A crochet star weighs almost nothing, costs a few pounds in yarn, and once stiffened it holds its points for twenty years. The trick is entirely in the stitch count and the stiffening — get those right and the star sits straight.
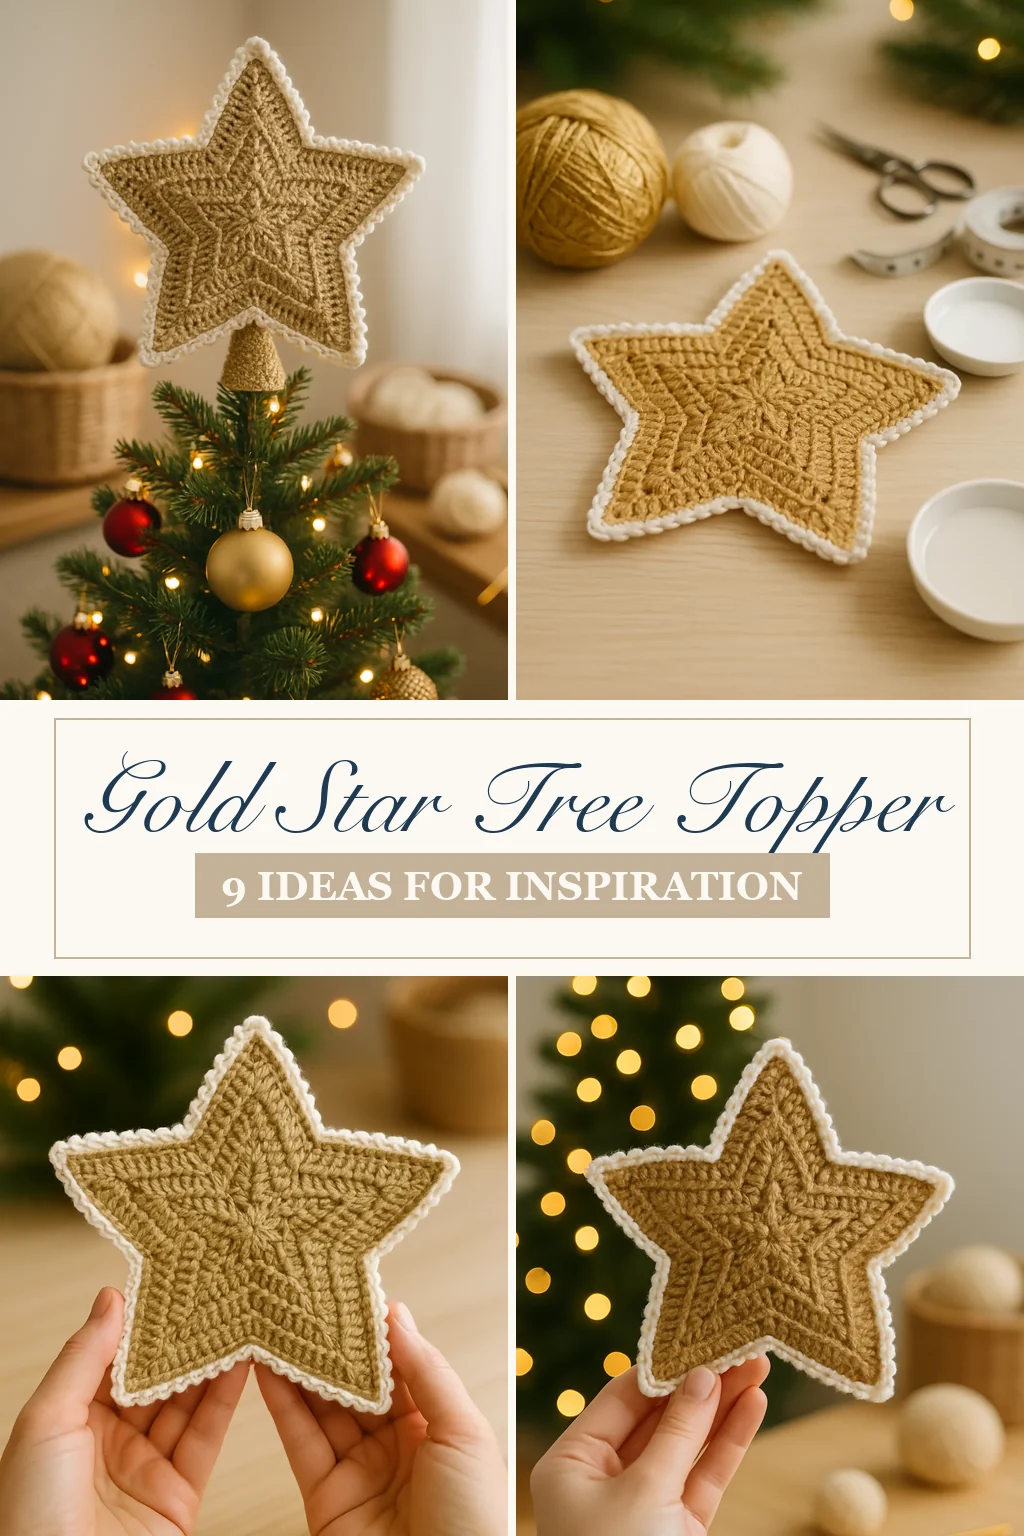
Gold Star Toppers at a Glance
- Skill level: confident beginner — rounds, increases and slip stitches
- Time: 2–4 hours including the drying wait
- Yarn:
80–150 yardsof gold metallic held with cream cotton - Hook:
3.5 mm— tight, so the points stay rigid - Finished size:
8–10 in/20–25 cmpoint to point - Start by: late November, allowing a full night for stiffening
Sizing the Star to the Tree
A topper that looks generous in your hands disappears on a seven-foot tree. Scale it to the tree, not to the pattern.
| Tree height | Star width | Foundation round | Yarn |
|---|---|---|---|
| 4 ft / 120 cm | 6 in / 15 cm | 15 dc | 70 yds |
| 6 ft / 180 cm | 8 in / 20 cm | 20 dc | 100 yds |
| 7 ft / 210 cm | 10 in / 25 cm | 25 dc | 140 yds |
| 8 ft / 240 cm | 12 in / 30 cm | 30 dc | 190 yds |
The foundation round must divide by five. That is the one rule a five-point star cannot bend — 15, 20, 25 and 30 all work; 18 or 22 do not. Each point grows from an equal share of that round, so an uneven base gives you points of different widths and no way to correct it later.
Yarn That Catches the Light
A tree topper is seen from six feet away in low light. That changes what matters.
Hold a gold metallic thread together with a cream or ivory cotton. Metallic alone splits constantly, is miserable to work with, and produces a limp fabric. Held alongside cotton, the cotton carries the structure and the metallic does nothing but catch light.
| Yarn choice | Shine | Holds shape | Verdict |
|---|---|---|---|
| Gold metallic + cotton | Excellent | Yes, stiffened | Use this |
| Metallic alone | Excellent | Poor | Splits, limp fabric |
| Plain cream cotton | None | Yes | Classic, no sparkle |
| Gold acrylic | Fair | Will not stiffen | Avoid — droops |
| Size 10 crochet thread | Good | Excellent | Finest, slowest |
Acrylic is the one to avoid. Stiffener does not take to it, so the points sag within a week of the heating being on.
How the Five Points Are Built
A five-point star is a circle that stops being a circle. You work a flat round first, then branch outward into five triangles.
The centre round
- Make a magic ring. Chain 3, which counts as your first double crochet.
- Work 19 more double crochet into the ring for 20 total, then slip stitch to join.
- Pull the ring closed firmly. A loose centre shows through the finished star.
Twenty divides by five, giving each point four stitches of base to grow from.
Branching into points
Each point is worked separately, back and forth across its four stitches, decreasing one stitch at each end every other row until two remain.
- Work across the first four stitches, then turn.
- Decrease one at each end, work to the end, turn.
- Repeat until two stitches remain, then fasten off or slip stitch down the side.
- Rejoin at the next group of four and repeat, five times in total.
Decreasing every other row rather than every row is what gives a point rather than a spike. Decreasing every row produces a sharp narrow triangle that looks like a thorn.
The valleys between points
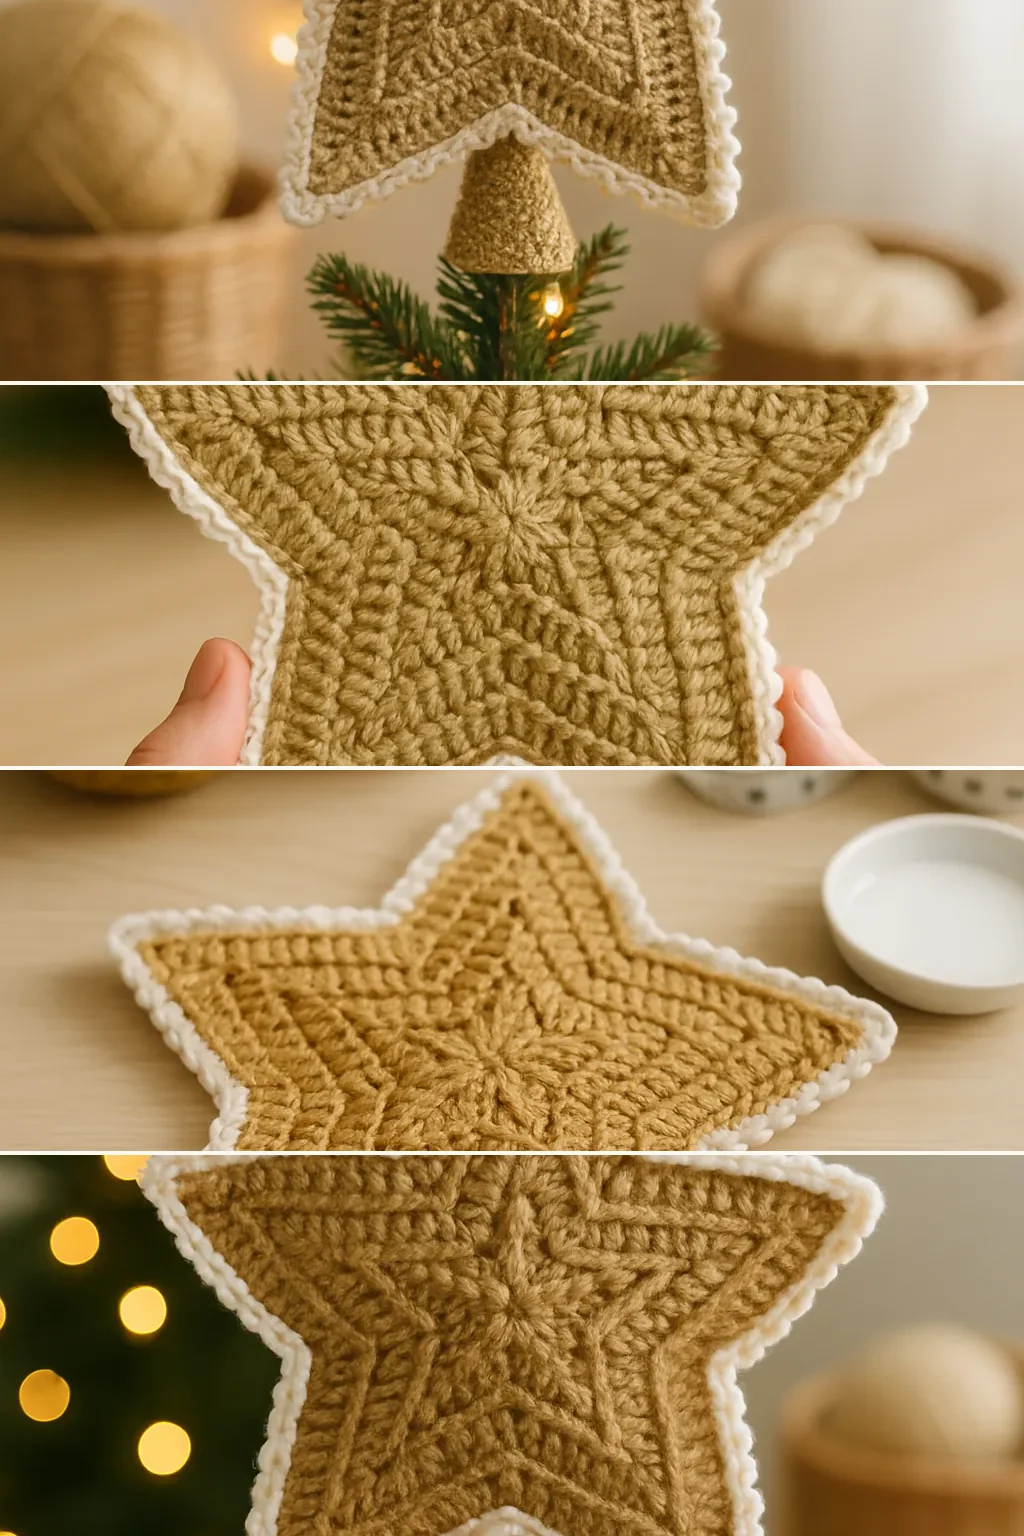
This is the detail that separates a star from a lumpy flower. At the lowest point between two points, work a slip stitch rather than a double crochet. A slip stitch is shorter, so it pulls the fabric down into the valley, and that contrast is what makes the peaks read as peaks.
Use the same slip stitch in the border round as you travel through each valley, and the outline stays crisp.
The border round
Work single crochet all the way around the finished star, with 3 stitches in each point tip and a slip stitch in each valley. The border locks the shape and gives the stiffener something firm to set against.
Add a picot at each point tip — chain 3 and slip stitch back into the first chain — for a decorative edge that also stops the tips curling.
The cone at the back
A topper needs to sit on the tree, not lean against it. Crochet a small cone, roughly 2 inches deep, and sew it to the back of the star over the centre. It slides onto the leader branch and holds the star upright.
Make the cone slightly tighter than the branch you measured. Cotton relaxes, and a loose cone lets the star tip forward by the second week of December.
Stiffening, Which Decides Everything
An unstiffened crochet star is a floppy pentagon. Stiffened, it is an ornament. The process takes five minutes and a night of waiting.
- Thin fabric stiffener with a little water — roughly four parts stiffener to one part water.
- Submerge the star, then squeeze out the excess until it is damp rather than dripping.
- Pin it to a foam board, stretching each of the five points outward so they are evenly spaced and the valleys sit deep.
- Leave it to dry fully, usually overnight. It should feel like thin card.
Measure between the point tips while pinning. All five gaps should be equal. A star pinned by eye almost always has two points closer together, and stiffener sets that permanently.
White PVA glue thinned 50/50 with water works if you have no commercial stiffener, though it dries slightly yellower — fine on gold, visible on cream.
Common Problems and Fixes
The points are different sizes
The foundation round did not divide by five, or the stitches were miscounted when branching. Count the base round before branching — it is a two-minute check that saves the whole star.
The star curls rather than lying flat
Too few stitches in the centre round, or tension too tight. Go up to a 4.0 mm hook and work a new centre. Mild curl disappears under stiffening; a pronounced cup does not.
The valleys are shallow and it looks like a flower
Double crochet was used in the valleys instead of slip stitch. The valley needs a shorter stitch to pull the fabric down. There is no fix beyond reworking the border round.
It went soft after a few weeks
Not enough stiffener, acrylic yarn, or it was stored somewhere damp. Re-dip and re-pin — cotton takes stiffener repeatedly without harm.
The star leans forward on the tree
The cone is too loose, or too shallow. A 2 inch cone fitted snugly holds; a 1 inch one does not. Pack a little polyfill into the cone as a shim if it is already made.
Working Out Your Own Star Size
The chart covers standard trees. For any other size, the arithmetic is short and worth doing before you buy metallic thread.
Foundation round from finished width
- Decide the finished width point to point — say
9 in. - The centre round is roughly a third of that, so about
3 inacross. - Work a test round and measure it. Adjust the stitch count until the circle is right.
- Round to the nearest multiple of five. This matters more than hitting the exact diameter.
If 22 stitches gives the right circle, use 20 or 25 rather than 22. A slightly smaller star with even points beats an exact-size star with uneven ones.
Point length from base width
| Foundation | Sts per point | Rows per point | Finished width |
|---|---|---|---|
| 15 dc | 3 | 4 | 6 in / 15 cm |
| 20 dc | 4 | 6 | 8 in / 20 cm |
| 25 dc | 5 | 8 | 10 in / 25 cm |
| 30 dc | 6 | 10 | 12 in / 30 cm |
Rows per point assume decreasing one stitch at each end every second row. Decrease every row instead and the points come out roughly half as long and much sharper.
Yarn from size
Metallic held with cotton uses about 1.4 yards per square inch of star. A 9 inch star has an area of roughly 60 square inches once the points are accounted for, so about 85 yards of each strand. Buy 20% over — metallic thread is sold in small quantities and running short mid-star is awkward.
Making the Points Sharp
Three details separate a crisp star from a soft pentagon, and none of them are in the stitch count.
Work tighter than feels comfortable
A 3.5 mm hook with worsted-weight cotton is one to two sizes below the band recommendation. The fabric should feel firm and slightly stiff off the hook, before any stiffener. A relaxed fabric will not hold a point however much stiffener it takes.
Finish each point with a decrease, not a fasten-off
Working the final two stitches together gives a rounded tip that takes a picot cleanly. Simply fastening off at two stitches leaves a blunt square end that reads as unfinished even at a distance.
Pin the valleys as hard as the points
Most people pin the five tips and leave the valleys to fall where they will. Pin the valleys inward at the same time, and the contrast between peak and valley doubles. This is the single biggest visual difference between a home-made-looking star and a shop-looking one.
Matching It to the Rest of the Tree
A topper sits alone at the highest point, which makes it the one decoration that has to agree with everything below it.
Match the metal, not the colour
If your baubles are silver, a gold star fights them. Work the same star in silver metallic held with white cotton — the pattern is identical and only the thread changes.
Scale against your largest bauble
The topper should read as clearly larger than anything else on the tree. A star the same visual size as a big bauble looks like an ornament that ended up at the top by accident.
Repeat one element lower down
The mini star set in idea 8 does this directly. Alternatively, work a few plain baubles with the same gold picot edging, and the topper stops looking like a separate project.
Consider the lighting
Warm white lights flatter gold; cool white lights make it look brassy and favour silver or cream instead. Hold the finished star against the lit tree before deciding whether to make a second in a different colour.
9 Gold Star Tree Topper Ideas
Each gives difficulty, time and yarn.
1. Classic Gold Five-Point Star
The pattern above exactly — gold metallic held with cream cotton, picot tips, stiffened flat. The version that suits any tree and any other decorations already on it.
Work the cone in plain cream, not gold. Metallic held double is stiff, and the cone needs enough give to push onto a branch without splitting the seam.
Beginner · 3 hours · 100 yds
2. Cream and Gold Two-Tone Star
A cream body with the border round worked in gold only. The outline does all the sparkling, and it uses a fraction of the metallic thread.
Start the gold border at a valley rather than a point. The colour change is almost invisible in a valley and obvious on a point tip.
Beginner · 3 hours · 90 yds plus 20 gold
3. Layered Double Star
Two stars of different sizes, stiffened separately and stacked with the smaller rotated so its points sit in the larger one’s valleys. Twice the work and considerably more presence.
Make the smaller star 60% of the larger one’s width. At 80% the points nearly align and the layering reads as a printing error rather than a design.
Intermediate · 6 hours · 190 yds
4. Lace Openwork Star
Chain spaces between clusters so the tree lights shine through the star rather than behind it. Needs firmer stiffening, since there is less fabric holding the shape.
Use stiffener at full strength, not thinned. There is far less fabric holding the shape, and the dilution that suits a solid star leaves a lace one floppy.
Intermediate · 4 hours · 80 yds
5. Eight-Point Star Topper
The same method with a foundation round divisible by eight — 24 stitches gives three per point. Fuller and rounder than a five-point, and closer to a traditional Star of Bethlehem.
Make the points shorter relative to the centre than you would for five. Eight long points crowd each other and the valleys disappear between them.
Intermediate · 4 hours · 120 yds
6. Beaded Point Star
Small gold beads threaded onto the yarn before the border round and worked into each picot tip. Thread every bead before you start the round — there is no adding one mid-round.
Use glass beads rather than plastic. Plastic beads soften and distort in stiffener, and the distortion only appears once everything has dried.
Intermediate · 4 hours · 100 yds plus beads
7. Thread Lace Heirloom Star
Size 10 metallic crochet thread on a 1.75 mm hook. Four times the work, and fine enough that it reads as antique rather than handmade.
Block it on blocking wires rather than pins if you have them. Nine hours of thread work deserves a straight edge, and pins leave scallops between them.
Advanced · 9 hours · 180 yds
8. Mini Star Set for the Branches
The same star at half scale, made six or eight times and hung as ornaments to match the topper. Twenty minutes each, and they tie the top of the tree to the rest of it.
Stiffen all of them in one batch. One mix of stiffener handles a dozen, and doing them individually is what turns a three-hour project into a week.
Beginner · 3 hours total · 120 yds
9. Light-Up Star Topper
A lace star with a battery tealight tucked into the cone behind it. Use an LED tealight only — the star is stiffened fabric and a real flame is not an option.
Check the tealight fits the cone before sewing the cone on. Most LED tealights are 38 mm across, which is wider than a cone sized to a branch.
Intermediate · 4 hours · 90 yds
Storing It Between Years
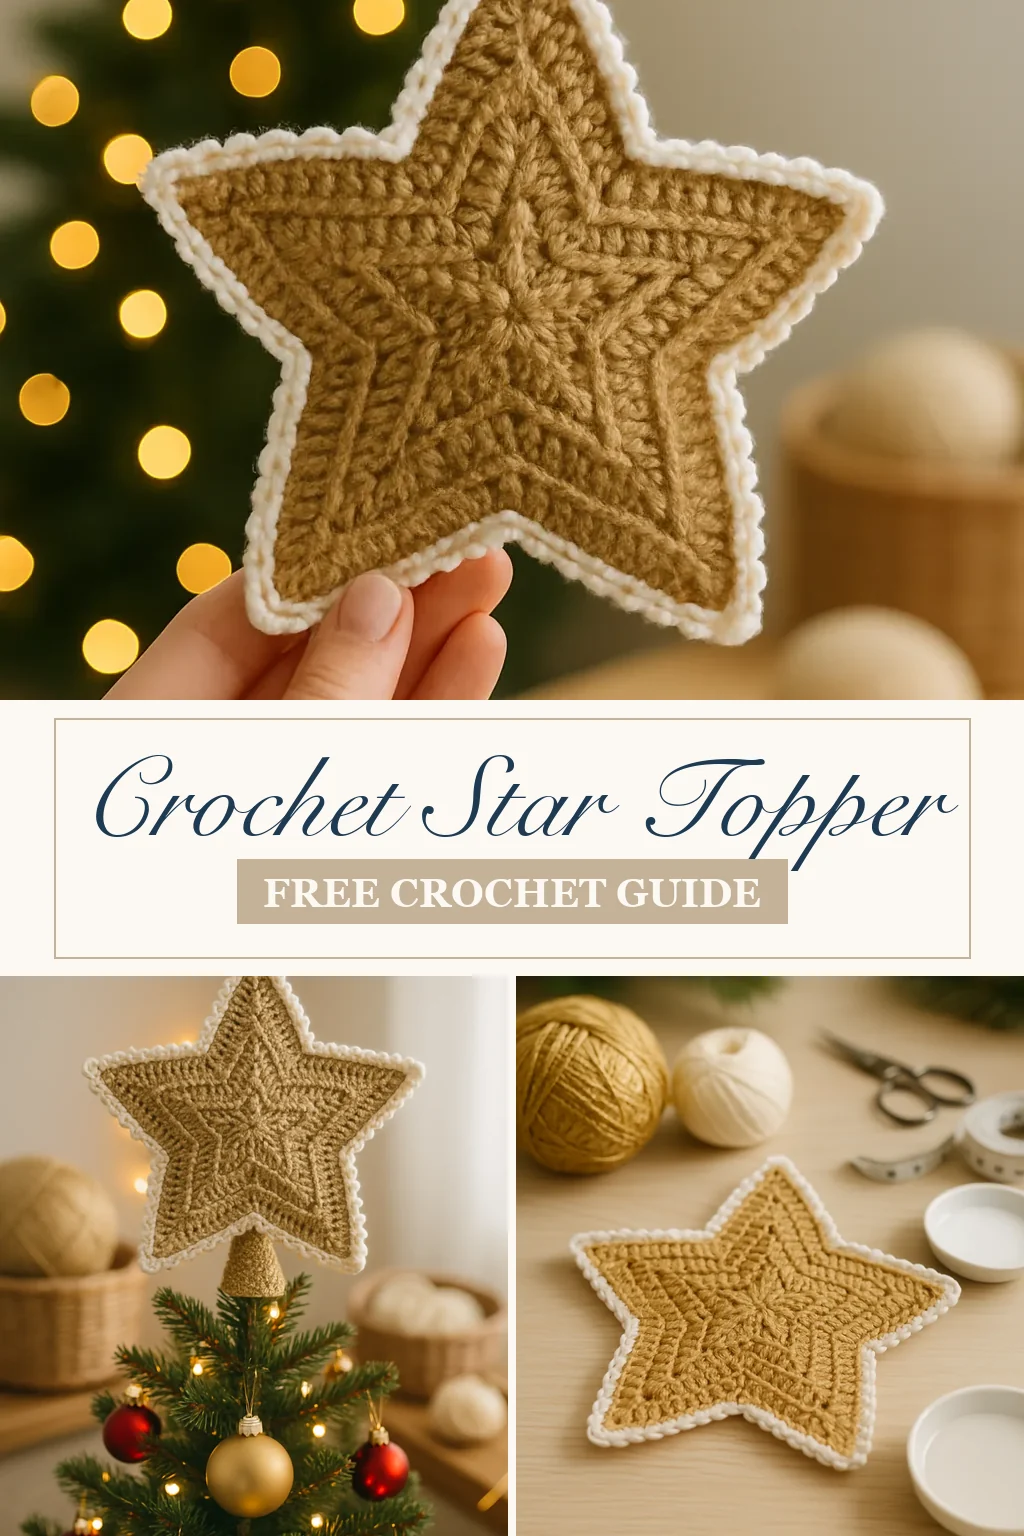
A stiffened star holds its shape for decades if it is stored flat and dry.
Lay it flat in a box, never folded or wrapped. Folding a stiffened star cracks the fabric along the fold, and that crease never comes out. A shallow box with tissue paper above and below is all it needs.
Keep it somewhere with stable temperature — a wardrobe rather than a loft. Damp softens stiffener over a year, and a softened star needs re-dipping before it holds its points again. If that happens, re-dip and re-pin exactly as the first time; cotton takes it repeatedly.
Frequently Asked Questions
How big should a tree topper star be?
About 8 inches across for a 6 ft tree and 10 inches for a 7 ft. Scale to the tree rather than the pattern — a topper that looks generous in your hands disappears at the top of a tall tree.
How many stitches do I start with?
A number divisible by five. Twenty double crochet in a magic ring gives each of the five points four stitches of base. Fifteen, 25 and 30 also work; 18 and 22 do not.
What yarn is best for a gold star?
Gold metallic thread held together with a cream cotton. Metallic alone splits constantly and makes a limp fabric; the cotton carries the structure while the metallic catches the light.
How do I stiffen a crochet star?
Thin fabric stiffener about four parts to one with water, submerge the star, squeeze out the excess, then pin it to foam board with the points stretched out evenly. Leave overnight.
Why do my valleys look shallow?
Double crochet was used between the points instead of slip stitch. A slip stitch is shorter and pulls the fabric down, which is what makes the peaks stand out.
Can I use acrylic yarn?
Not for a topper. Stiffener does not take to acrylic, so the points droop within a week once the heating is on.
How do I attach it to the tree?
Crochet a small cone about 2 inches deep and sew it to the back over the centre. It slides onto the leader branch. Make it slightly tighter than you measured, because cotton relaxes.
How long does a star topper take?
Two to four hours of crochet, plus a full night of drying after stiffening. Start in late November rather than the week before.
Can I make an eight-point star instead?
Yes, with the same method. Use a foundation round divisible by eight — 24 stitches gives three per point — and the branching and valley rules are unchanged.
Final Thoughts
Count the foundation round before you branch, use slip stitches in the valleys, and pin all five points to equal spacing before the stiffener dries. Those three things are the whole project. Everything else is two hours in front of the television in late November, and a star that goes on the tree every year after.