 Clara•🕑 October 24, 2026•💬 No comments
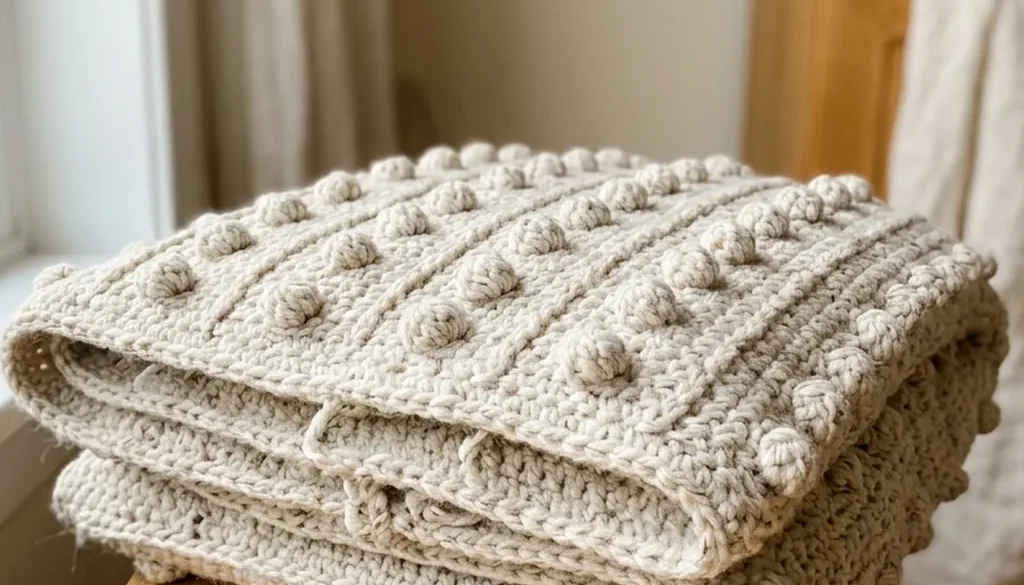
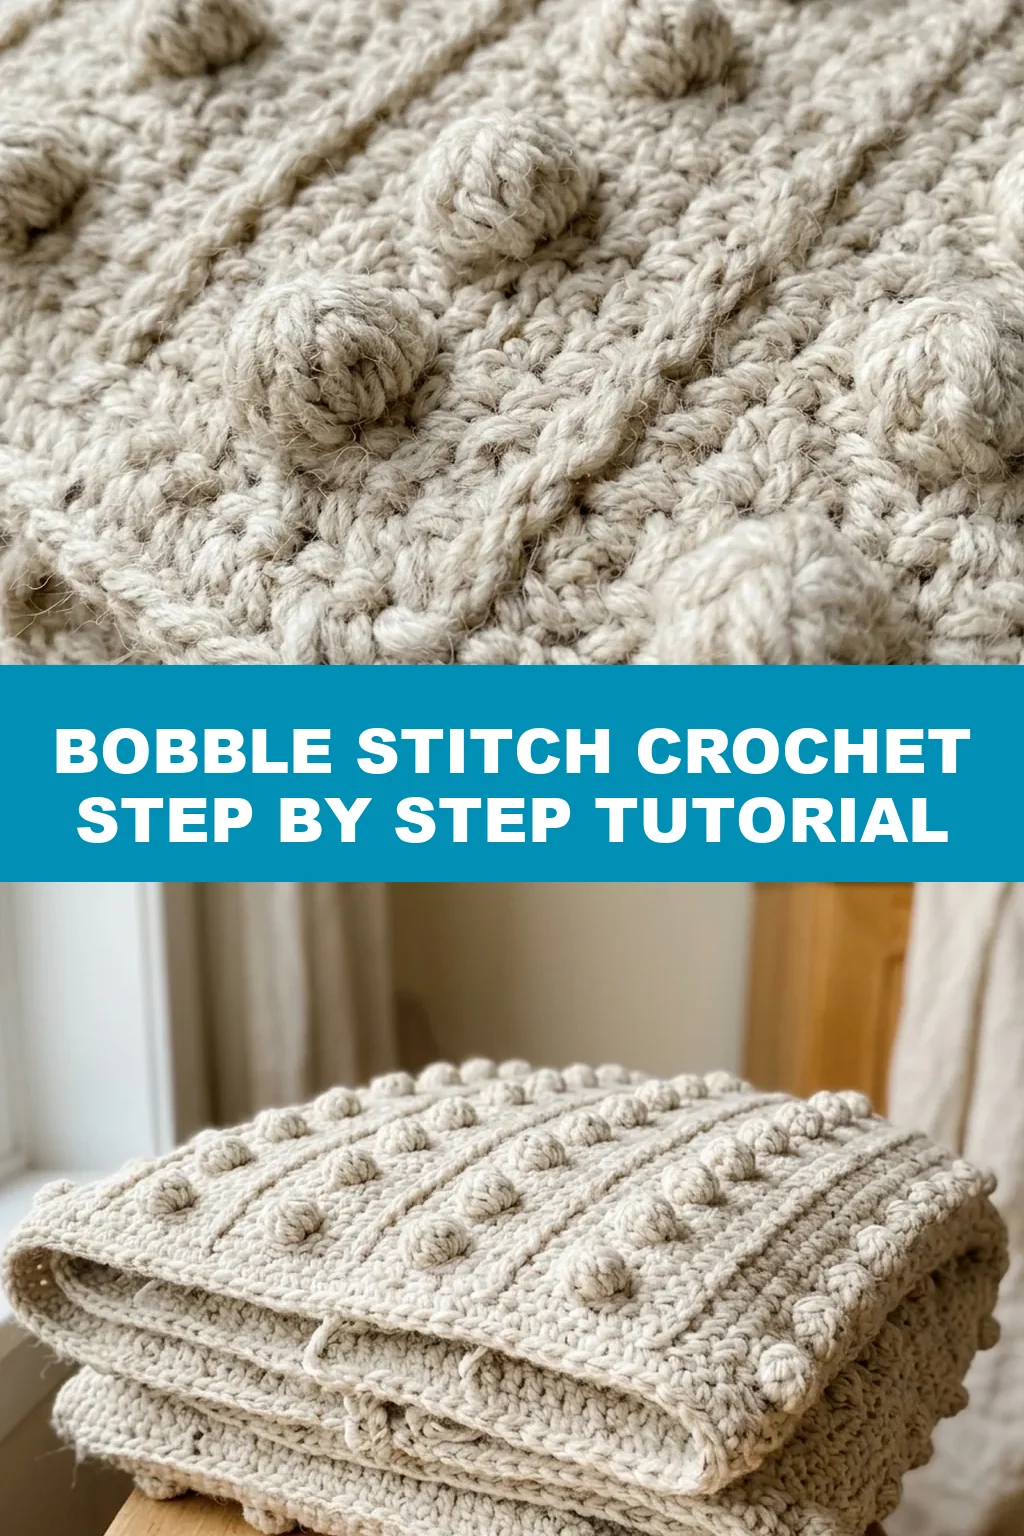
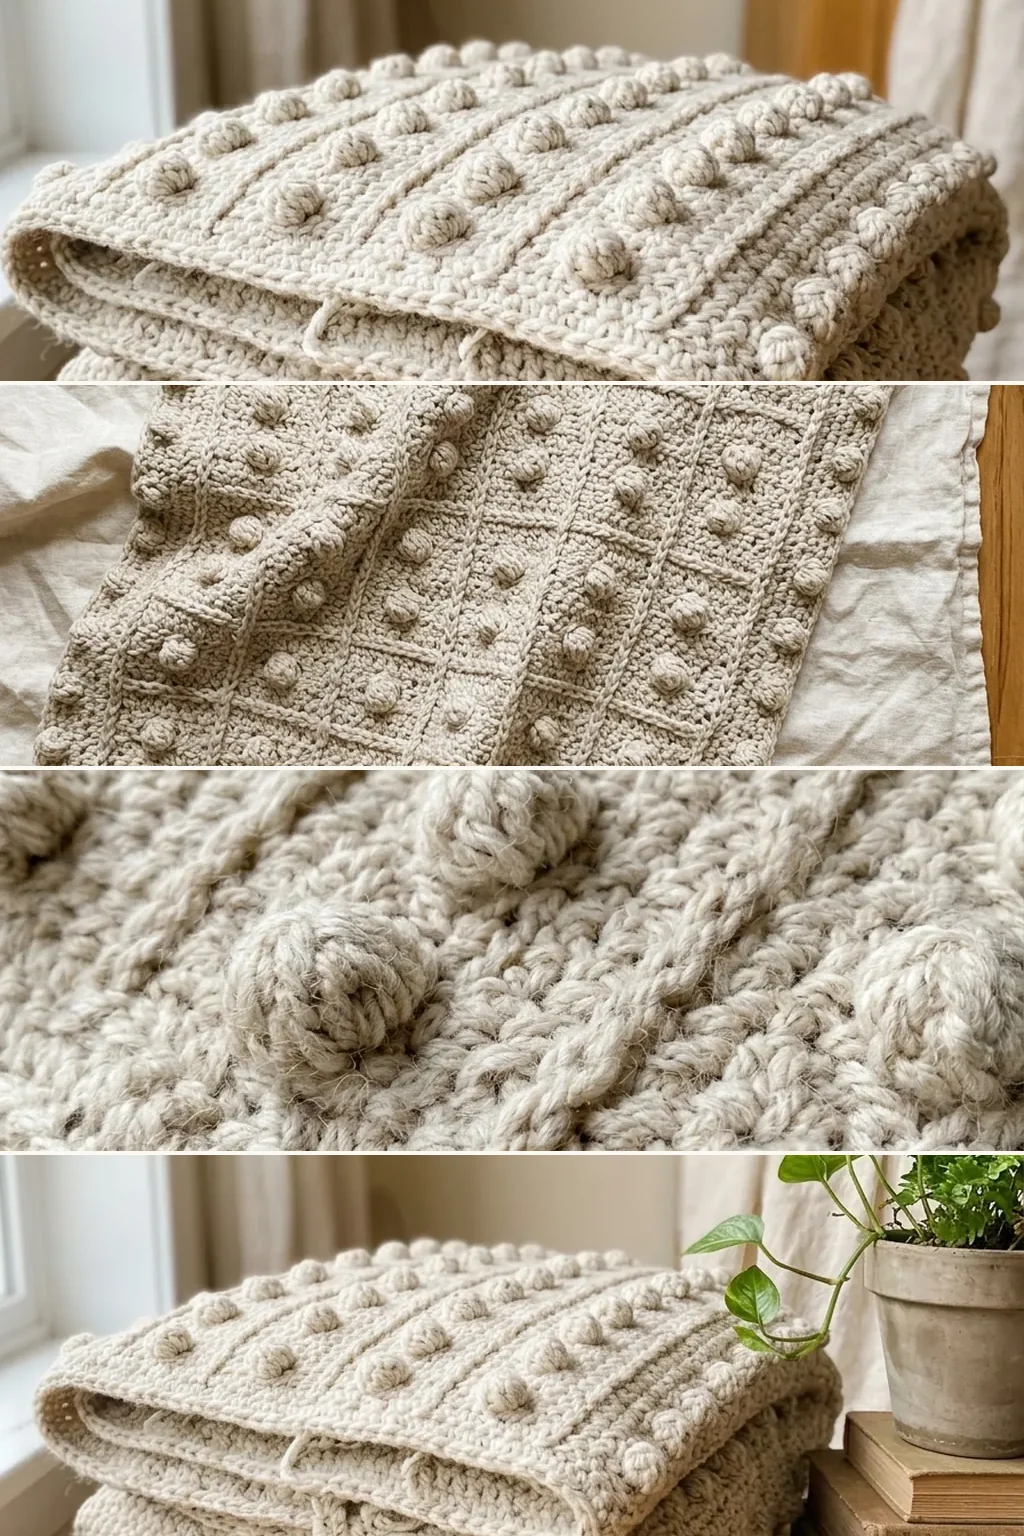
A bobble is five or six half-finished stitches crowded into one place and then closed together at the top. They have nowhere to go, so they push forward off the fabric as a round bump.
The stitch has one rule that catches almost everyone, and it is counterintuitive enough to be worth stating before anything else: bobbles are made on the wrong side. They form on the back of the work and pop through to the front, so the row you work them on is the row you will not be looking at.
This is the bobble stitch crochet pattern written out step by step, with the rule above explained rather than just asserted.
Bobble Stitch at a Glance
| Skill level | Confident beginner — needs sc and dc |
| Repeat | Four rows |
| Worked on | Wrong-side rows only |
| Multiple | 4 stitches, plus 3 |
| Fabric | Dense, one-sided, heavy |
| Hook | As the yarn band says |
Making One Bobble
A bobble is one double crochet started five times into the same stitch and never finished, then all of them closed at once.
- Yarn over.
- Insert the hook into the stitch and draw up a loop.
- Yarn over and pull through two loops. One extra loop now sits on the hook.
- Repeat steps 1 to 3 into the same stitch until there are six loops on the hook.
- Yarn over and pull through all six.
Step 3 is where it goes wrong. Pulling through all three loops finishes the double crochet, and a finished stitch does not bunch. Stop at two every time and the unfinished stitches accumulate, which is what makes the bump.
Chain one after closing the bobble if your pattern says so. Some do, some do not — the chain makes the bobble sit a little prouder and slightly wider.
Why the Wrong Side
When you close a bobble, the bulk of it is pushed away from you — it forms on the side of the fabric facing away while you work.
So a bobble worked on a right-side row bulges toward the back, where nobody sees it. Work it on a wrong-side row and it bulges toward the front. The rule in every published tutorial is the same: if you want the bobble on the right side, make it on the wrong side.
The practical consequence is that you are working blind. The row you are making looks flat and slightly lumpy while you work it, and the texture only appears when you turn the piece. Resist checking after every bobble; turn at the end of the row like any other.
Mark the right side with a scrap of contrast yarn on row one. On a dense fabric with bumps on one face it is surprisingly easy to lose track, and a bobble row worked on the wrong wrong-side is invisible.
The Four-Row Repeat
Bobble fabric alternates a bobble row with plain rows. The plain rows are not filler — they give the bobbles something to sit between, and without them the fabric becomes a solid mass of bumps with no definition.
- Row 1 (RS): single crochet across.
- Row 2 (WS): single crochet, then alternate bobble, three single crochet across, ending on single crochet.
- Row 3 (RS): single crochet across.
- Row 4 (WS): single crochet across.
Repeat rows 1 to 4. On the next bobble row, offset the bobbles so they fall between the ones two rows below rather than directly above them — stacked bobbles read as vertical stripes, offset ones read as scattered texture.
Some patterns use half double crochet between bobbles instead of single crochet, which gives a taller, looser fabric. Both work; single crochet is denser and holds the bumps more firmly.
The Stitch Multiple
A multiple of 4 stitches plus 3. Each bobble plus its three plain stitches uses four, and the three extra give the row its edge stitches at both ends.
Count before row one. A chain off the multiple runs out partway through the last repeat, and on a bobble fabric the fix is a whole row rather than a stitch.
Bobbles cannot sit next to each other. They need at least one plain stitch between them — two closed bobbles in adjacent stitches have no room and the fabric puckers between them.
Bobble Size
The number of unfinished stitches sets the size, and three is the common alternative to five.
- Three (four loops on the hook) — a small, subtle bump. Good on garments where a big bobble would catch.
- Five (six loops) — the standard. Clearly round, holds its shape.
- Seven (eight loops) — a large, soft bump that needs a plain row either side or the fabric distorts.
Whichever you pick, keep it the same across the whole piece. Mixed bobble sizes look like inconsistent tension rather than a design choice.
Yarn and Hook
Use the hook the yarn band recommends, which is unusual for a textured stitch — most want a larger hook, and this one does not. A bobble needs the surrounding fabric to be firm enough to push against, and a loose fabric lets the bump sink back into it.
Smooth, solid-colour yarn in a light or medium weight. A bobble is a shadow effect: it reads because light catches the top of the bump and the fabric behind it falls dark. Variegated yarn breaks that up, and anything fluffy fills in the gap between the bump and the fabric so there is no shadow at all.
Wool and acrylic both hold a bobble’s shape better than cotton. Cotton works, but the bumps relax more over time.
What Bobble Fabric Is Good For
It is dense, heavy and one-sided. That suits blankets, cushion fronts, bags and hats, and rules out anything where the back shows or where weight matters.
It uses considerably more yarn than plain single crochet over the same area — each bobble is five stitches’ worth of yarn in one stitch’s space. Budget around a third extra.
On baby items, a bobble fabric is closed with no holes, which is the right property, but the bumps add bulk and weight. The honeycomb waffle used on a baby blanket gives texture at a fraction of the weight, which matters more on something a baby is wrapped in.
If you want raised texture without the bulk, the alpine stitch raises columns using post stitches rather than clusters, and the fabric stays much lighter.
Planning a Piece
Bobble fabric is sized by bobbles rather than by inches, because the bumps are what the eye counts.
Work a four-row swatch, then measure the distance between two bobble centres. On DK with five-stitch bobbles and single crochet between, that is usually around an inch and a quarter. Divide your target width by that figure and you have the number of bobbles per row; multiply by four and add three for the foundation chain.
For a cushion front at 18 inches, that is roughly fourteen bobbles, so 14 × 4 + 3 = 59 chains. Round to the multiple rather than to the inch — on this fabric a half-inch discrepancy is invisible and a broken repeat is not.
Vertically, each four-row repeat gives one row of bumps. Count repeats rather than rows when you are matching two panels, since miscounting a plain row is easy and miscounting a bobble row is not.
Blocking
Block bobble fabric gently or not at all, which is the opposite of the advice for lace.
Pinning a bobble fabric out hard flattens the bumps, and they do not fully recover. If a piece needs evening out, lay it flat, spray it lightly with water and pat it into shape with your hands — no pins through the bobbles themselves, and nothing stretched.
Steam is worse. Held close, it relaxes the clusters and the texture drops noticeably. If you must steam a seam, keep the iron well away from the bobbled area.
This is one more reason to get the hook size right rather than planning to fix the fabric afterwards. On most stitches blocking is the correction step; here there is no correction step.
Common Problems and Fixes
The bobbles are on the back
They were worked on right-side rows. Bobbles form away from you — work them on the wrong side and they appear on the front. There is no fix but to redo those rows.
The bobbles are flat
Step 3 went through all three loops instead of two, finishing each double crochet. A finished stitch does not bunch, so nothing accumulates and nothing pops.
The fabric puckers between bobbles
Bobbles worked in adjacent stitches. They need at least one plain stitch between them.
The bumps sink into the fabric
The hook is too large. Unlike most textured stitches, this one wants the hook the yarn band recommends — the bobble needs firm fabric to push against.
The rows are getting narrower
The closing loop of a bobble is easy to miscount as two stitches. A bobble occupies exactly one stitch. Count after each bobble row.
The bobbles form vertical stripes
They were stacked rather than offset. On each bobble row, place them between the positions used two rows below.
Frequently Asked Questions
Why are bobbles made on the wrong side?
Because a bobble bulges away from you as you close it. Worked on a wrong-side row, it pops through to the front where you want it.
How many loops should be on the hook?
Six for a standard bobble — five unfinished double crochets plus the working loop. Then yarn over and pull through all six.
What is the stitch multiple?
A multiple of 4 plus 3. Each bobble and its three plain stitches use four, and the extra three give the edges.
Can bobbles touch each other?
No. They need at least one plain stitch between them or the fabric puckers.
Why are my bobbles flat?
Each partial stitch was pulled through all three loops instead of two, which finishes it. Stop at two every time.
What hook should I use?
The one on the yarn band. A larger hook makes a loose fabric and the bumps sink into it.
How much extra yarn does it use?
Around a third more than plain single crochet over the same area, because each bobble packs five stitches into one stitch’s space.
Is bobble fabric reversible?
No. The bumps are on one face and the back is flat, so it suits blankets and cushion fronts rather than scarves.
Final Thoughts
Work four rows on a scrap before starting anything — one plain row, one bobble row, two plain rows — and turn it over. That single swatch tells you whether your loops are stopping at two, whether the hook is right and which side you are meant to be working on.
Then mark the right side before row two. It costs a scrap of contrast yarn and it prevents the one mistake on this stitch that cannot be fixed without unpicking.