 Clara•🕑 October 15, 2026•💬 No comments
Baby booties are the project most people finish in an evening and then make four more of. They take under fifty yards, they need one stitch, and the whole construction is an oval with sides pulled up around it.
They are also the project where one instruction does almost all the work. A single round worked into the back loops only turns a flat oval into a shoe, and without it you have a coaster. Everything below is built around that round.
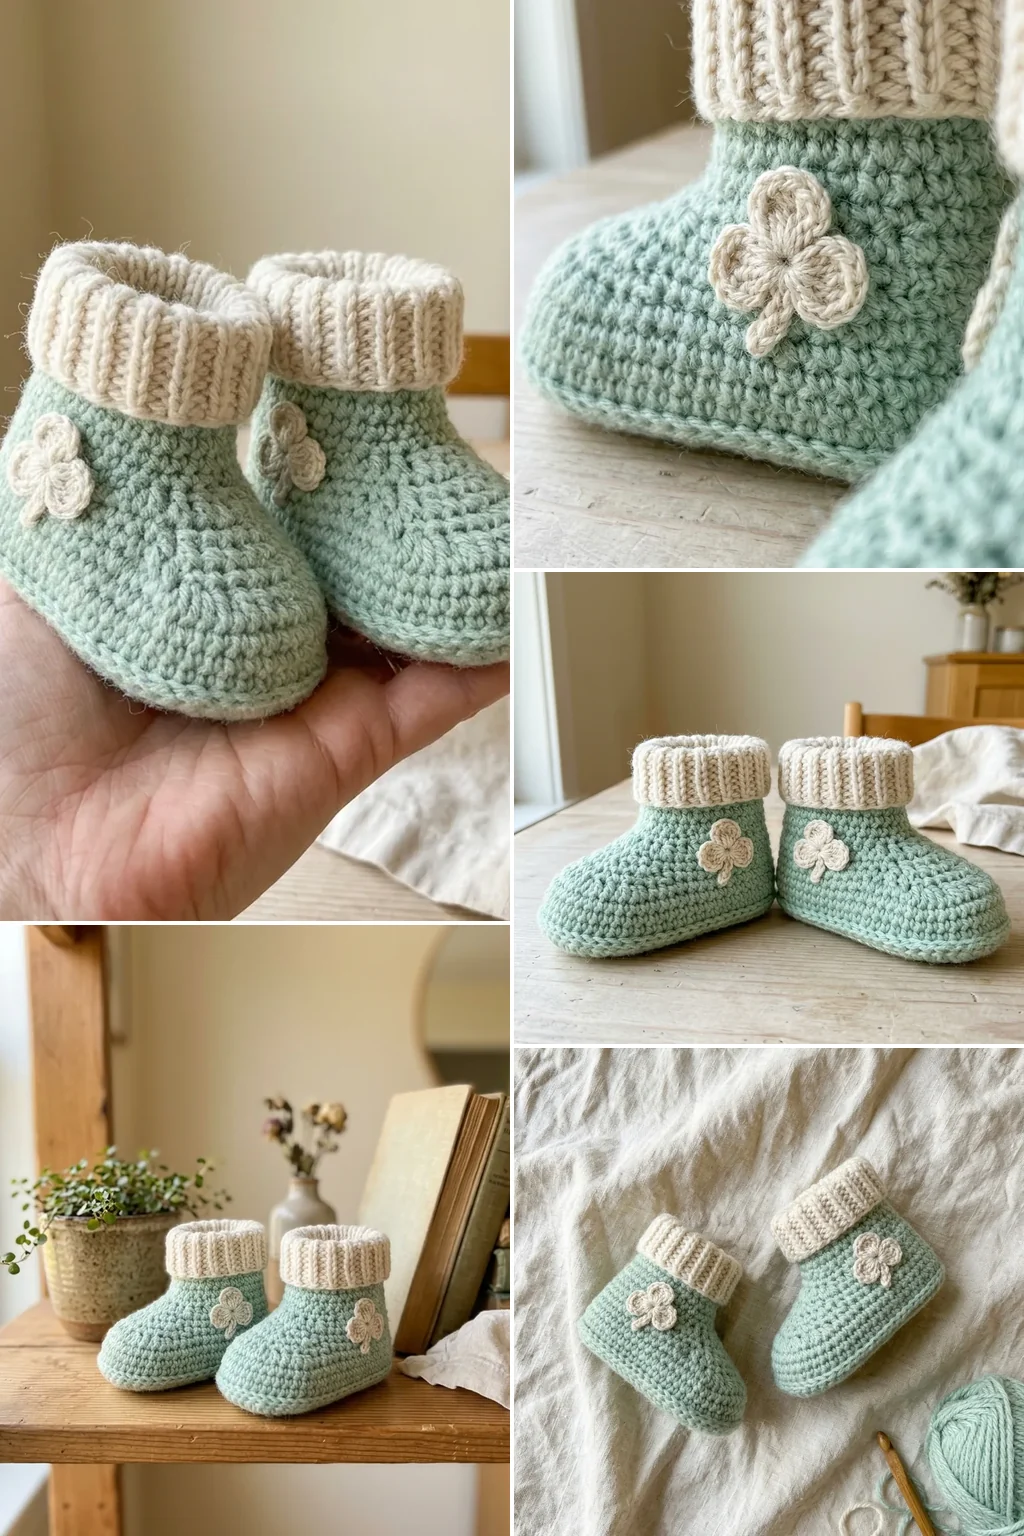
This is the mint clover baby booties crochet pattern written as a construction guide with sizes by sole length rather than by age, because age labels on baby patterns disagree with each other and a ruler does not.
Mint Clover Baby Booties at a Glance
| Skill level | Beginner — chain, sc, increase, back loops |
| Yarn | DK cotton or a soft wool blend |
| Hook | 3.5 mm |
| Time | 2–3 hours the pair |
| Worked | Sole outward, then up, in a spiral |
| Yarn used | 45–60 yards the pair |
Materials
- Soft mint — 50 yards of DK for the booties.
- Cream — 15 yards for the cuff and the clover.
- 3.5 mm hook. The standard pairing with DK for this size, and tight enough that a sole holds its shape.
- Stitch marker. The rounds are a spiral with no join, so there is no other way to find the start.
- Tapestry needle.
- A ruler. Listed as a material because the sole gets measured before anything else happens.
DK rather than worsted. A bootie in worsted comes out stiff and sits oddly on a foot that has no weight behind it. Cotton washes better; a soft wool blend is warmer and has more give. Both work, and neither should be scratchy — anything that itches gets pulled off within minutes and then lost.
Size by Sole Length, Not by Age
Baby sizing is inconsistent across designers, and the age on the label means less than the measurement. Published bootie patterns put a 0–3 month sole at 3.5 inches, a newborn at 3 inches, and 3–6 months at 4 inches, with some sources giving 0–3 months as a range of 9 to 10 cm rather than a single number.
| Size | Sole length | Starting chain | Side rounds | Yarn, the pair |
|---|---|---|---|---|
| Newborn | 3 in / 8 cm | 9 | 4 | 40 yds |
| 0–3 months | 3.5 in / 9 cm | 11 | 5 | 50 yds |
| 3–6 months | 4 in / 10 cm | 13 | 6 | 60 yds |
| 6–12 months | 4.5 in / 11.5 cm | 15 | 7 | 70 yds |
If you can measure the baby’s foot, use that plus a quarter inch. If you cannot, pick by age and accept that booties are better slightly large — a loose bootie stays on with a cuff, and a tight one does not go on at all.
The ruler check
Work the sole, then put it against a ruler before doing anything else. If it is short, add a chain or two to the foundation and redo it; if it is long, take one out. Your tension and the designer’s will not match, and this check matters more than any gauge swatch — it takes thirty seconds and it is the difference between a bootie that fits and a nice oval.
Step 1: The Oval Sole
The sole is a flat oval, worked around both sides of a starting chain with increases at each end to turn the corners.
- Chain the number from the size table.
- Starting in the second chain from the hook, work single crochet along the chain, stopping at the last one.
- Work 3 single crochet into the last chain — that turns the corner and starts the far end of the oval.
- Continue back along the other side of the foundation chain, working one single crochet into each chain.
- Work 2 single crochet into the final chain to close the near end, and mark the first stitch.
- Round 2: single crochet around, adding two increases at each end of the oval and working straight along both long sides.
- Round 3: the same, with the increases spread one stitch further apart.
Two or three rounds is enough for a baby sole. Each one adds width, and the increases have to stay at the ends — put them along the sides and you get a circle.
Work in a continuous spiral, no joining and no chaining up, with the marker moved to the first stitch of each round as you reach it.
Step 2: The Back Loop Round
This is the round that makes the bootie, and it is one line of instruction.
Work one round of single crochet into the back loops only, all the way around the sole.
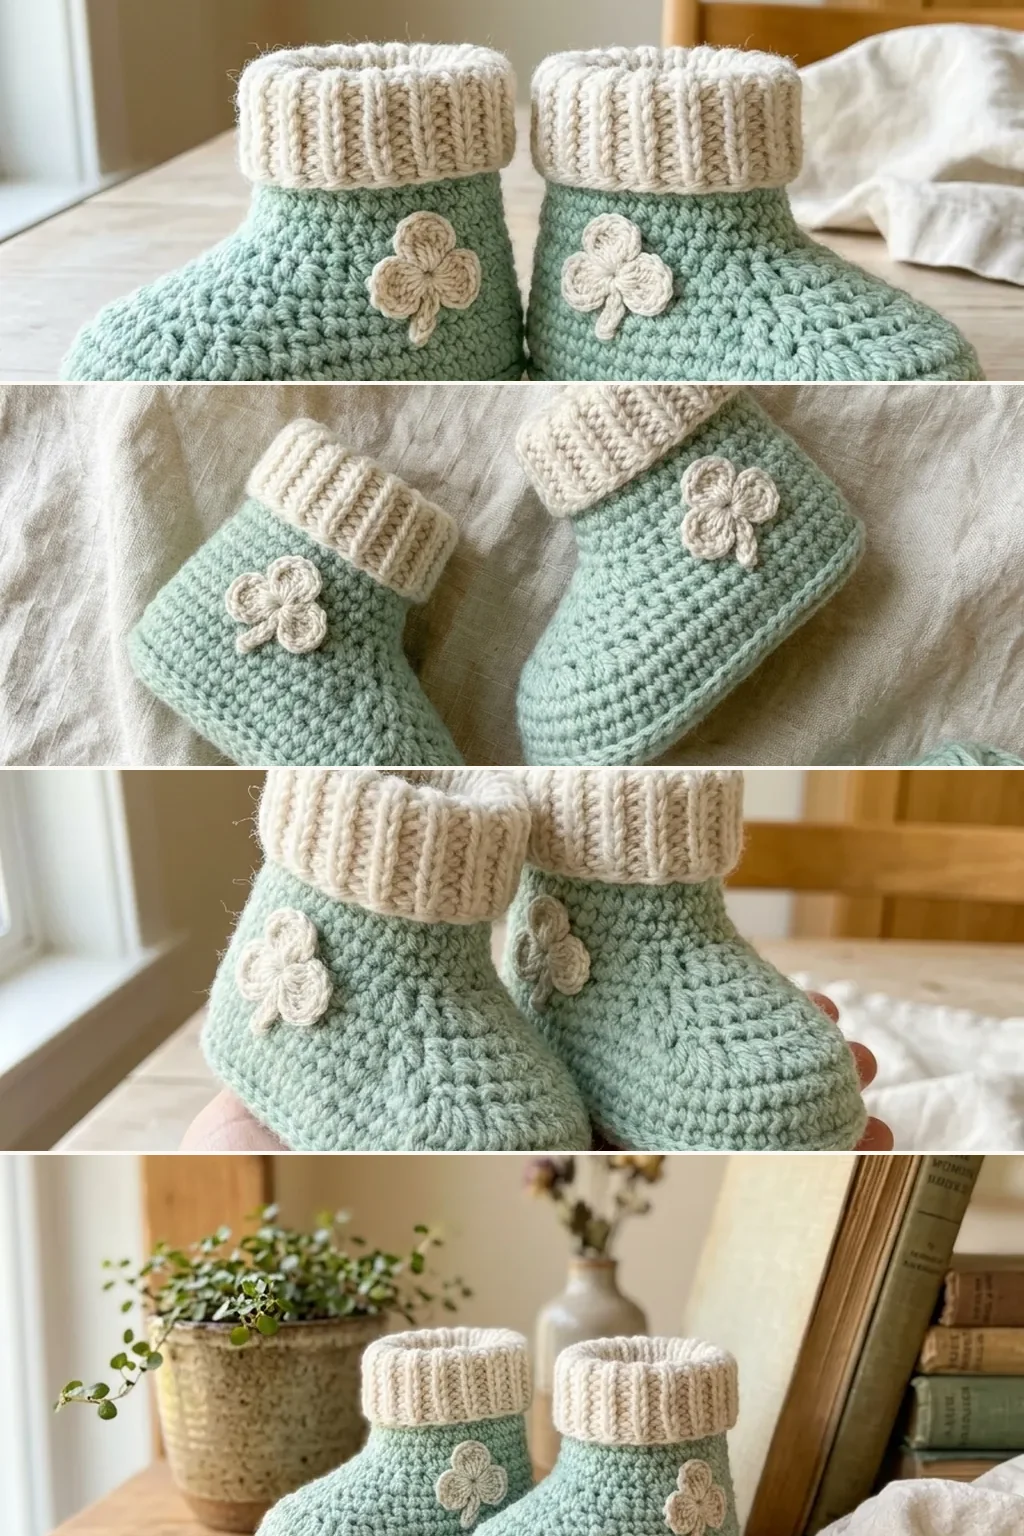
Every stitch has two loops at its top. Working into the back one leaves the front loops sitting free as a visible ridge, and that ridge becomes a hinge. The fabric above it folds upward along the line, and the sides of the bootie lift away from the sole instead of continuing outward in the same plane.
Skip it and you keep making a flat oval, round after round, wondering when it will start looking like a shoe. It will not.
The free front loops also give you a tidy seam line all the way round the base, which is where a bootie looks either finished or homemade.
Step 3: The Sides
From the back loop round, work plain single crochet rounds with no increases at all. The stitch count stays exactly the same, and the sides climb.
Four rounds for a newborn, five for 0–3 months, six for 3–6 — the numbers in the table. Count them rather than eyeballing, because the second bootie has to match the first and a one-round difference is visible when they sit side by side.
Keep the tension even. Single crochet worked tightly here pulls the opening in and the bootie will not go over a heel; worked loosely the sides slump.
Step 4: Shaping the Instep
The bootie now needs a dip at the front where the foot goes in, and a higher back to hold the heel.
- Find the toe end and count a third of the stitches across it. That section is the instep.
- Work single crochet decreases across those stitches — two or three decreases spread evenly — on the next round.
- Repeat on the following round, decreasing a little less.
- Work the remaining stitches around normally so the back and sides stay at full height.
Two rounds of decreasing is enough on a baby size. The opening should end up roughly round and slightly smaller than the widest part of the foot, which is what stops the bootie falling off.
Try it on a hand if there is no baby available. Two fingers through the opening is about right for 0–3 months.
Step 5: The Cuff
Switch to cream and work three or four rounds of single crochet around the opening.
For a plain cuff, work them straight. For a ribbed one that grips, work into the back loops only on every round — the same trick as the sole round, used here for stretch rather than a fold.
A folded cuff needs six rounds rather than three, worked loosely, then turned down. It looks good and adds a little weight at the ankle, which on a kicking baby helps more than it sounds.
The Clover Motif
Three small petals worked off a shared centre, finished with a short stem. It takes about five minutes each, and at this scale it reads as a clover rather than as a generic flower because of one detail: the petals are heart-shaped at the tip rather than rounded.
- Magic ring, chain 1.
- First petal: chain 3, work 3 double crochet into the ring, chain 1, 3 more double crochet, then chain 3 and slip stitch back into the ring. The chain-1 in the middle is what notches the top of the petal.
- Repeat twice more, so three petals sit evenly around the ring.
- Pull the ring closed and work a chain of 4 or 5 for the stem, then slip stitch back along it.
- Fasten off, leaving a long tail for sewing.
Make the motif in the same weight as the booties or one lighter. A clover in worsted on a DK bootie sits proud like a badge rather than like part of the shoe.
Block each clover flat before attaching. An unblocked three-petal motif curls at the notches, and once it is sewn down that curl cannot be corrected.
Sew it to the outer side of each bootie with thread, stitching along the whole back of the motif rather than tacking at the centre. A clover held at one point rotates within a week, and on a baby item every attachment is also a safety question — covered below.
Keeping Them On
Booties come off. That is their defining characteristic, and three things help.
A snug opening. The instep shaping above is the main defence. An opening the same width as the foot has nothing to grip.
A ribbed cuff. Back-loop rounds give the cuff stretch that closes around the ankle instead of standing open.
Ties, carefully. Stay-on designs thread a tie through eyelets at the ankle, and it works. It also introduces the one real hazard in this project, so it gets its own section below.
Decoration and Safety
Worth slowing down for, because booties sit on the one part of a baby that reliably reaches their mouth.
No buttons, beads or small decorations. Babies pull at their own feet, and anything that can come off a bootie is a choking hazard. Pattern publishers and sellers carry this warning on their own listings. Crochet the clover motif and sew it on with matching thread across its whole base, or embroider it directly onto the side. Never glue anything to a baby item — glue fails in the wash and gives no warning before it does.
Ties kept short. Long cords on baby items are a strangulation risk, and some published bootie patterns use ties of eighty chains or more. On a bootie there is no reason for a tie to be longer than enough to go round the ankle and knot with a small bow. Secure both ends into the fabric rather than relying on the knot alone.
Sew, do not glue, and check after washing. Every attachment should be stitched down along its full edge, and worth a look each time the booties come out of the wash. Thread abrades where it passes over an edge, and the failure is gradual.
The same rule governs anything made for an under-three: it also decides why a honey bumblebee amigurumi gets embroidered eyes rather than plastic ones, and why a sunshine daisy baby dress uses ribbon ties for the smallest sizes.
15 Mint Clover Baby Booties Ideas
1. Classic Mint with a Cream Clover
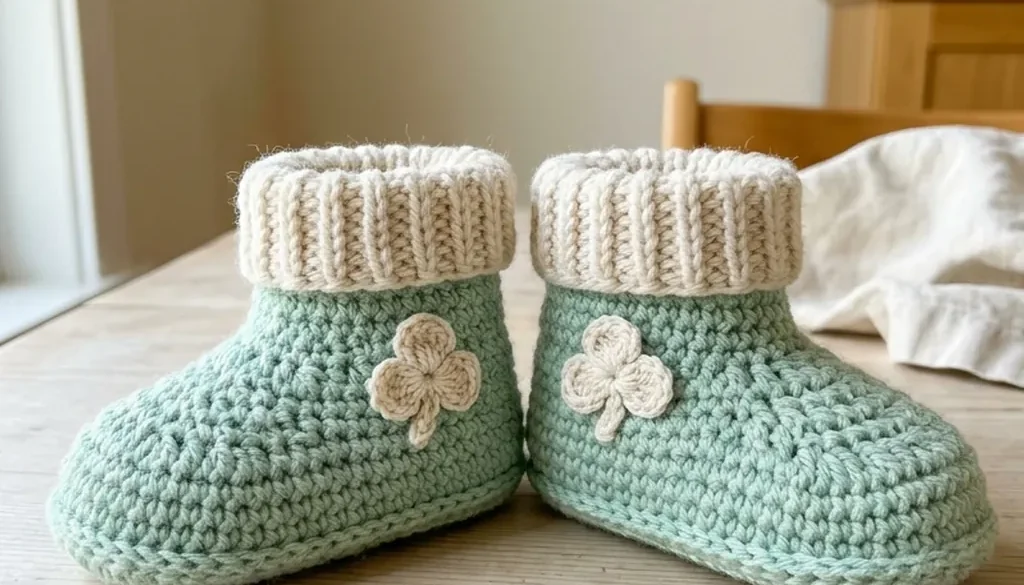
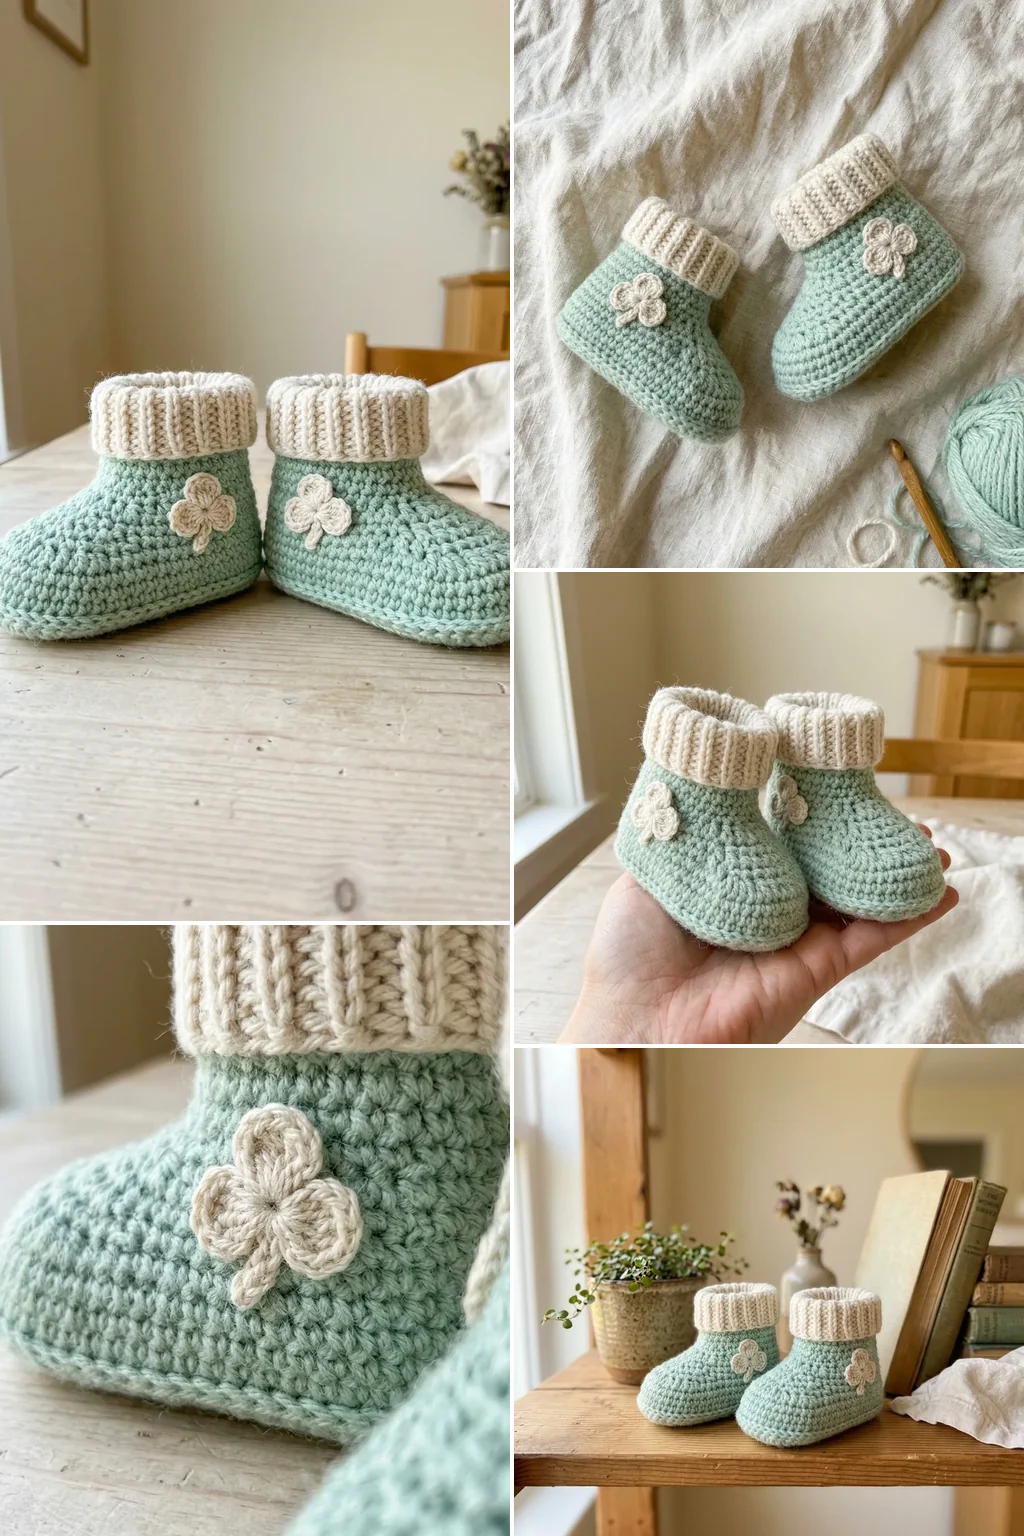
The version above. Mint body, cream cuff, one small clover on the outer side of each bootie.
Put the clover on the outside of each foot, not the inside, or they rub against each other.
Beginner · 2.5 hours · 50 yds
2. Cream Body, Mint Clover
The colours reversed. Quieter, and it suits a baby who already owns a great deal of pastel.
Keep the cuff mint so the pair still reads as a set.
Beginner · 2.5 hours · 50 yds
3. Mary Jane Style
A strap across the instep fastened with a crocheted loop rather than a button.
Work the loop into the strap as you go. A sewn-on loop is one more thing that can come away.
Beginner · 3 hours · 55 yds
4. Ribbed Ankle Cuff
Six back-loop rounds on the cuff for real stretch. The version most likely to stay on a kicking baby.
Work the cuff loosely. A tight ribbed cuff will not go over a heel.
Beginner · 2.5 hours · 55 yds
5. Folded Cuff
A deeper cuff turned down over the ankle, showing the inside of the fabric.
Work the fold section a half hook size looser so it turns cleanly instead of bulging.
Beginner · 2.5 hours · 55 yds
6. Striped Soles
The sole in cream and the sides in mint, so the fold line between them is a colour change as well as a ridge.
Change colour on the back loop round itself. The ridge hides the join completely.
Beginner · 2.5 hours · 50 yds
7. Newborn Gift Pair
The 3-inch size in the softest yarn you can find, made as a pair with a matching hat.
Make the hat first. Whatever is left is enough for the booties.
Beginner · 4 hours · 90 yds
8. Sage and Oatmeal
A more muted palette for a nursery that is not pastel. Sage body, oatmeal cuff, sage clover.
Keep the clover the same colour as the body. On muted shades a contrast motif reads as a patch.
Beginner · 2.5 hours · 50 yds
9. Four-Leaf Version
A four-leaf clover instead of three, worked the same way with one extra petal.
Make the fourth petal slightly smaller. Four equal petals reads as a flower, not a clover.
Beginner · 2.5 hours · 50 yds
10. Toddler Size
A 5-inch sole with eight side rounds, for a first walker. Add a second sole layer for grip.
Work the extra sole in cotton and sew it on. Wool soles wear through in a fortnight once a child walks.
Beginner · 3 hours · 80 yds
11. Ankle-Tie Boots
Taller sides, eight rounds, with a short tie threaded through eyelets at the ankle.
Keep the tie under six inches and stitch both ends down. Length is the whole risk here.
Beginner · 3 hours · 60 yds
12. Scrappy Rainbow Pairs
Each pair in a different leftover colour, made as a set of four for a gift basket.
Keep the cuff colour the same across every pair so the set reads as one gift.
Beginner · 8 hours · 180 yds
13. Textured Sole
The sole worked in back loops throughout, giving a ridged underside with a little grip.
Only worth doing on a crawling baby. On a newborn it adds nothing but time.
Beginner · 2.5 hours · 50 yds
14. Matching Mittens
The same construction scaled down, with no instep shaping, for a pair of mittens.
Skip the thumb entirely at this age. Baby mittens with thumbs never get the thumb used.
Beginner · 4 hours · 80 yds
15. Keepsake Pair in Cotton Thread
A tiny pair in fine cotton on a 2.0 mm hook, made as a decoration rather than to wear.
Stiffen them lightly after blocking. A keepsake pair that slumps looks like a mistake.
Intermediate · 3 hours · 20 yds
Common Problems and Fixes
It stayed flat and never became a shoe
The back loop round was worked through both loops, or skipped. There is no fold line, so the sides have nothing to hinge on. Take out the rounds above it and redo that one round correctly.
The sole came out round instead of oval
The increases drifted along the sides. They belong at the two ends only — that is what keeps a foot shape rather than a circle.
The two booties are different heights
Side rounds counted by eye. Count them, and write the number down before starting the second one.
The opening is too tight to go on
Either too many instep decreases or a cuff worked too firmly. Two rounds of decreasing is plenty at this size, and the cuff wants working loosely.
They fall off constantly
The opening is as wide as the foot. Add a ribbed cuff in back loops, or one more instep decrease round, so there is something to grip above the heel.
The sole is the wrong size
Measured after the sides went on. Measure it flat, against a ruler, before working the back loop round — at that point a fix is one chain.
Washing and Keeping Their Shape
Cotton booties take a cool machine wash in a mesh bag. Wool blends want hand washing in lukewarm water with a little wool wash, squeezed rather than wrung.
Dry flat, and stuff each bootie lightly with a twist of tissue while damp so the sides keep their shape. A bootie dried collapsed stays collapsed, and on a piece this small there is not enough fabric to reshape afterward.
Check the clover and any ties each time they come out of the wash. That is the one maintenance task on this project and it takes five seconds.
Frequently Asked Questions
How much yarn do baby booties take?
About 50 yards of DK for a 0–3 month pair including the cuff and clover. A newborn pair takes 40.
What size sole do I need?
3 inches for a newborn, 3.5 for 0–3 months, 4 for 3–6 months, 4.5 for 6–12. Measure the baby’s foot and add a quarter inch if you can.
Why work a round into the back loops only?
It leaves the front loops free as a ridge, and that ridge is a hinge the sides fold up along. Without it the piece stays flat however many rounds you add.
Can a complete beginner make these?
Yes. A bootie needs chain, single crochet, increase, decrease and the back loop round, and it is small enough that a mistake costs twenty minutes.
Can I use buttons?
No. Babies pull at their feet and anything that comes off a bootie is a choking hazard. Crochet or embroider the decoration and sew it down along its whole edge.
Are ties safe on baby booties?
Short ones, secured at both ends. Long cords on baby items are a strangulation risk — keep a bootie tie under six inches and stitch the ends into the fabric.
What yarn is best?
DK cotton or a soft wool blend on a 3.5 mm hook. Worsted makes a stiff bootie and anything scratchy gets pulled off.
How do I stop them falling off?
A snug instep and a ribbed cuff worked in back loops. The opening has to be narrower than the widest part of the foot.
Do I join each round?
No. Work in a continuous spiral and move a stitch marker to the first stitch of each round, or the count goes within four rounds.
How long does a pair take?
Two to three hours. The sole and the shaping are most of it; the sides are quick.
Final Thoughts
Work the sole and measure it before anything else. A bootie built on a sole that is a half inch out is a bootie that does not fit, and the only point at which that costs nothing to fix is before the back loop round.
Then make the second one immediately, while the round counts are still in your head. A pair finished on the same evening matches; a pair finished a week apart rarely does.