 Clara•🕑 October 11, 2026•💬 No comments
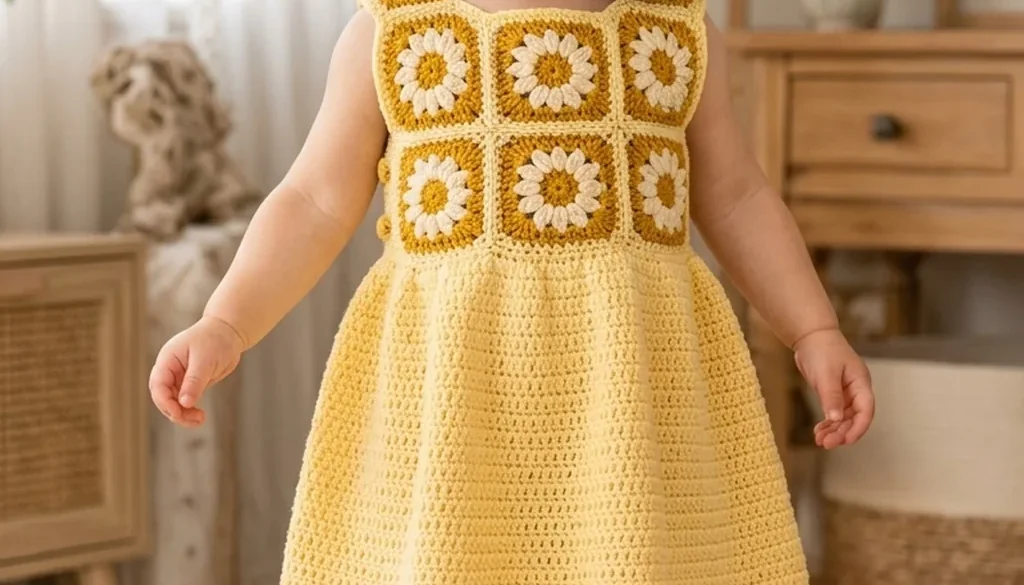
A daisy yoke is the fastest way to make a baby dress look like it took far longer than it did. The squares are small, they work up in about fifteen minutes each, and six of them across the chest give you a finished yoke before the end of an evening. Everything below that is plain double crochet.
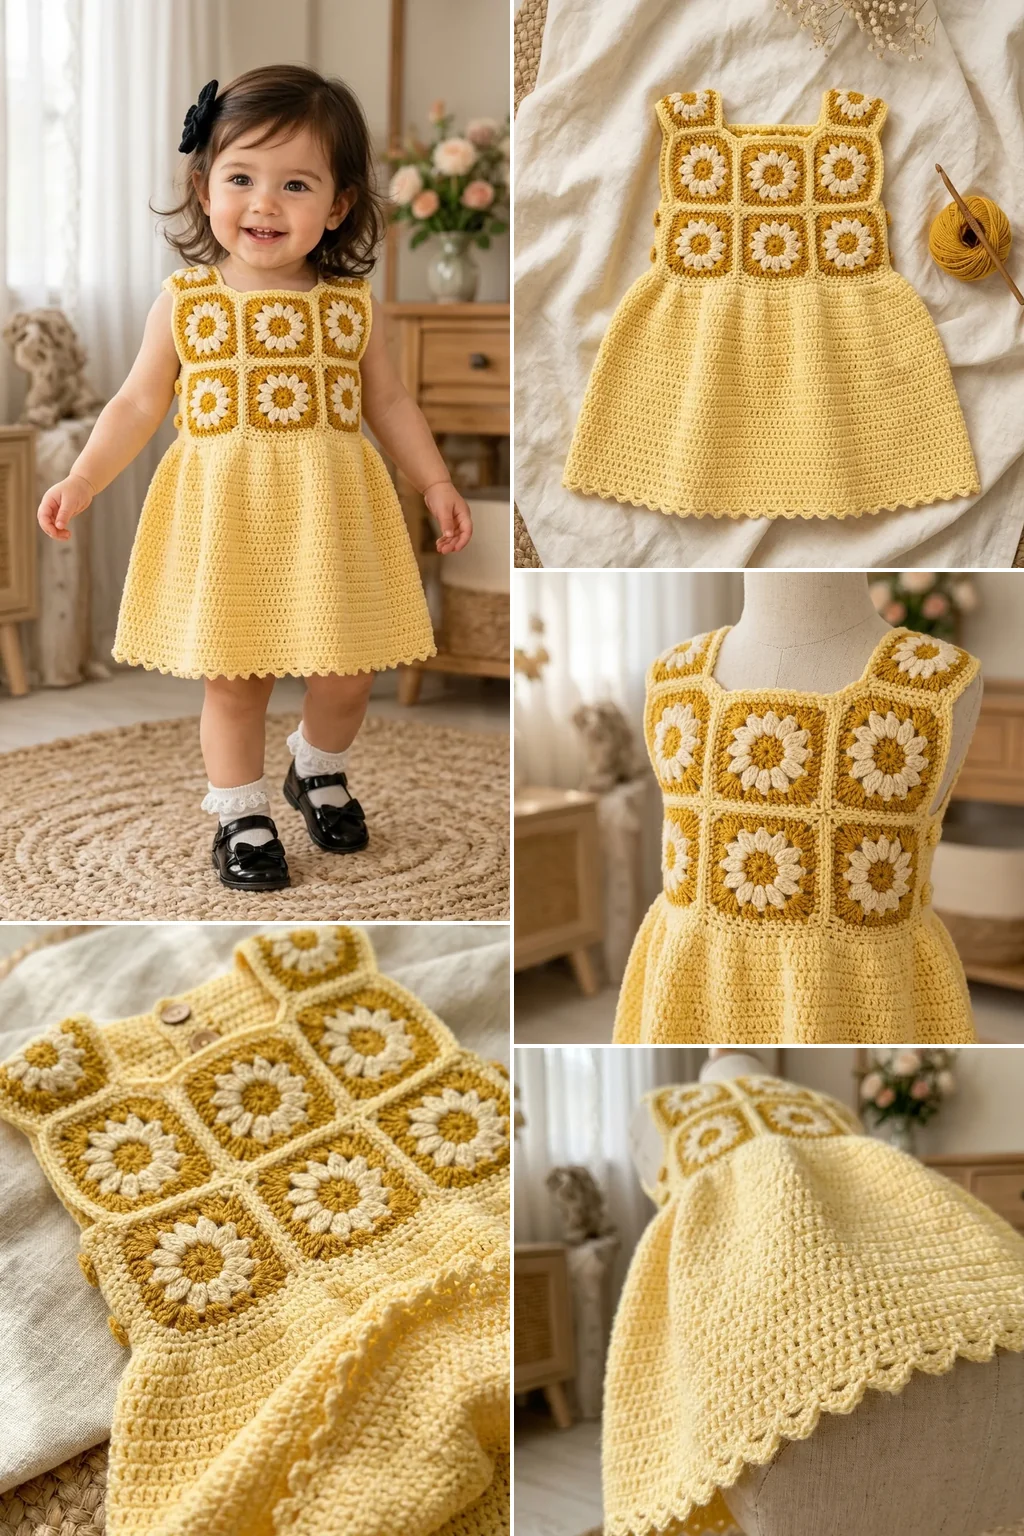
This is the sunshine daisy baby dress crochet pattern worked the way most yoke dresses are built: motifs first, joined into a band, then worked upward for the neckline and downward for the skirt. No shaping, no sewing a bodice to a gathered skirt, and no pattern pieces to line up.
Sunshine Daisy Baby Dress at a Glance
| Skill level | Advanced beginner — magic ring, dc, tr |
| Yarn | Sport or DK cotton, 3 colours |
| Hook | 3.5 mm |
| Time | 8–12 hours |
| Construction | Motif yoke, worked up then down |
| Seams | Two, at the sides, below the armholes |
Materials
- Main colour — 250–350 yards of sport or DK cotton, depending on size. Buttercup yellow for the skirt.
- Petal colour — 60 yards of cream.
- Centre colour — 20 yards of a deeper gold.
- 3.5 mm hook, or whatever gives you the gauge below.
- Three 14 mm buttons, or a length of narrow ribbon. The fastening choice is covered under finishing, and it matters more than it sounds.
- Tapestry needle, stitch markers, sewing thread to match the buttons.
Cotton rather than acrylic. A baby dress is worn against skin in warm weather, cotton breathes, and it holds a motif’s shape through washing in a way acrylic does not. Sport weight gives a finer daisy than DK; both work, and the gauge decides the size either way.
Size by Chest, Not by Age
Age labels on baby patterns disagree wildly. Across published patterns, a dress labelled 6–12 months can have a finished chest anywhere from 18 to 22 inches, and the same label on another designer’s pattern means something two inches different. Measure the baby, or measure a dress that already fits, and work to that number.
| Size | Finished chest | Length | Yoke squares | Yarn |
|---|---|---|---|---|
| 0–3 months | 16 in | 11 in | 6 | 250 yds |
| 3–6 months | 17 in | 12.5 in | 6 | 280 yds |
| 6–12 months | 19 in | 14 in | 7 | 310 yds |
| 12–24 months | 21 in | 15.5 in | 8 | 350 yds |
Add one to two inches of ease over the baby’s actual chest. A dress that measures exactly the chest will not go over the head, and a yoke dress has no stretch to spare.
Gauge
Work one daisy square and measure it. At 3.5 mm in sport cotton a finished square should come out at about 2.75 inches along each side. Six of them make a 16.5-inch band, which is the 0–3 month chest.
If your square comes out at 3 inches, six give you 18 inches, and you have made the 3–6 month size without meaning to. That is the whole sizing mechanism: square size multiplied by square count equals chest. Work one, measure it, then decide how many you need rather than trusting a number from a table.
For the skirt below the yoke, 20 dc and 10 rows should measure 4 inches.
Why a Motif Yoke Rather Than a Shaped One
A conventional baby dress is worked in the round from the neck down, increasing at four raglan points until the yoke is deep enough, then dividing for the sleeves. It fits beautifully and it requires you to count raglan increases across rows that all look identical.
A motif yoke replaces all of that with arithmetic you do once. Six squares of known width make a band of known circumference, and the chest size is settled before you work a single row of the dress itself. There is no raglan line to keep straight, no dividing round, and no point at which a miscount three rows back forces you to pull out an hour of work.
What you give up is shaping. A motif yoke is a straight band, so it sits level across the chest rather than curving over the shoulders, and it needs an inch or two more ease than a raglan would. On a baby that reads as a loose, comfortable fit. On an adult it would read as a sack, which is why this construction is common in children’s patterns and rare above size 4.
Choosing the Three Colours
The centre and the petals are fixed by what a daisy looks like: a warm gold middle and a petal several shades lighter. The decision is the third colour, the one carrying the skirt and the square borders, and it is the one that makes the dress work or not.
Hold the petal yarn against candidates in daylight. Anything close in value to the cream will wash the daisies out at arm’s length, which is the distance anyone actually sees a baby dress from. You want a clear step down in brightness — the buttercup yellow in the materials list is about three shades darker than the cream, and that gap is what keeps the flowers legible.
Buy the skirt colour in one dye lot. The skirt is an unbroken field of double crochet and a half-shade change lands as a visible horizontal line across it. If you run short and have to open a second lot, alternate one row from each ball for four rows and the transition disappears.
Step 1: The Daisy Granny Square
Three rounds. The first two make the flower, the third turns it into a square.
Round 1 — the centre
- Magic ring in the deeper gold.
- Chain 2, then work 8 double crochet into the ring.
- Pull the tail to close the ring, slip stitch into the top of the first dc. (8 stitches)
- Fasten off, leaving a short tail.
Eight is the count that gives eight petals in the next round, one per stitch. Some daisy patterns use 11 or 12 in the centre and then build petals in a separate round; if you follow one of those, keep its own count rather than mixing the two.
Round 2 — the petals
- Join the cream to any stitch of round 1.
- Chain 3, then work treble, chain 3, slip stitch into the front loop only of the next stitch.
- Repeat all the way round. (8 petals)
- Fasten off.
Front loop only is the part people skip, and it is what makes the daisy sit proud of the square rather than lying flat in it. The back loops stay free, and round 3 is worked into those.
Round 3 — squaring it off
- Join the buttercup yellow to any free back loop from round 1, working behind the petals.
- Chain 3, 2 dc in the same stitch, chain 2 — that is the first corner.
- 3 dc in the next back loop, then chain 1.
- In the next, work 3 dc, chain 2, 3 dc — the next corner.
- Continue around until you have four corners and four sides. Slip stitch to close.
Fifteen minutes each once the rhythm is there. Make all of them before joining any, and lay them out together — a square that came out a half-stitch tight is obvious in a row of six and invisible on its own.
Step 2: Joining the Yoke
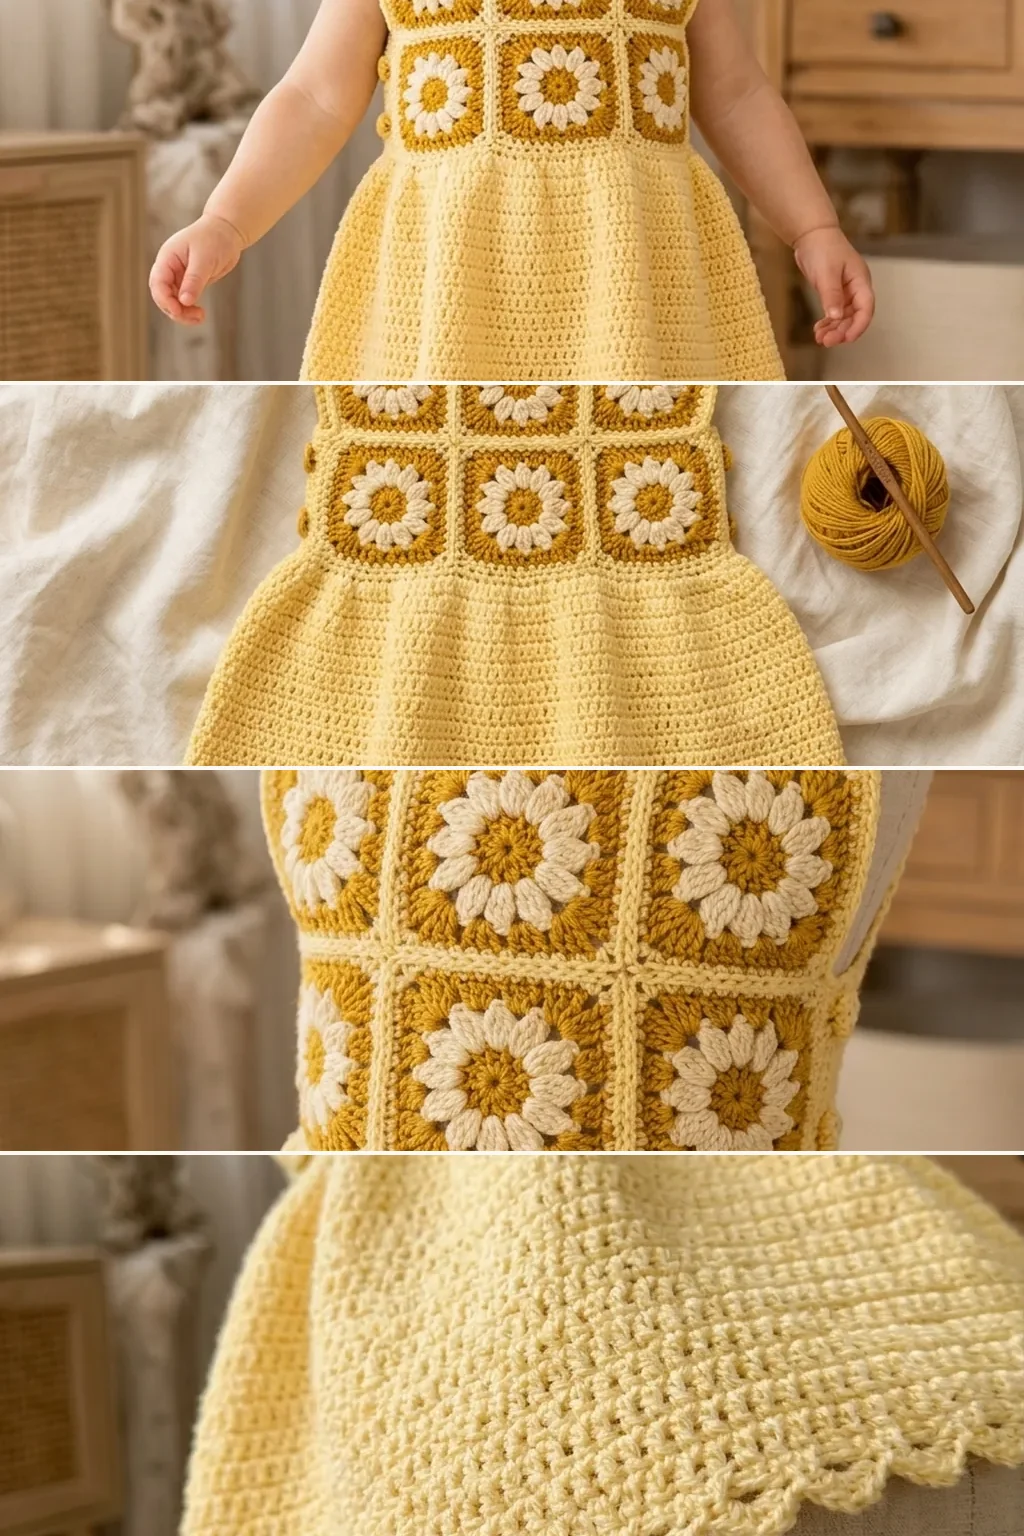
Join the squares into a flat strip, not a ring. The strip becomes the chest band and the two ends become the back opening.
Hold two squares with wrong sides together and slip stitch through both top loops along one edge, working from corner chain space to corner chain space. Slip stitching with right sides out leaves a small raised ridge on the outside, which on a daisy yoke reads as a deliberate seam line rather than a mistake.
Join all your squares into one strip. For the 0–3 month size that is six squares and five joins, giving a band roughly 16.5 inches long and 2.75 inches deep.
Do not close the strip into a loop. The opening at the back is how the dress goes on, and a yoke dress with no back opening will not pass a baby’s head.
Step 3: Working Upward — Neckline and Back Edges
Turn the strip so the top edge faces you.
- Join the yellow at one end of the top edge.
- Work 1 row of single crochet across, putting 3 sc into each square’s side and 1 into each join.
- Work 2 more rows of single crochet, turning each time.
Three rows is enough to give the neckline body without making a collar. On the final row, if you are using buttons, work three chain-2 buttonholes evenly down one back edge: single crochet to the position, chain 2, skip 2, carry on.
Then work 3 rows of single crochet down each back edge, from the neckline to the bottom of the yoke, so both sides of the opening have the same finished edge.
Step 4: Working Downward — the Skirt
Turn the strip over and work along the bottom edge of the squares.
- Join the yellow at one back edge.
- Setup row: work 2 dc into each stitch across the bottom edge. This doubles the stitch count and is what turns a straight band into a skirt that flares.
- Chain 3, turn. Work 1 dc into each stitch to the end.
- Repeat that row until the skirt reaches the length in the size table, measuring from the bottom of the yoke.
One increase round at the top and nothing after it. The flare comes from that single doubling, and the dress hangs from the yoke rather than gathering at a waist. If you want more swing, work a second increase row six rows down, putting 2 dc into every fourth stitch.
For the 0–3 month size the skirt is about 8 inches of plain double crochet below a 2.75-inch yoke, which gives the 11-inch finished length.
Step 5: Armholes, Seams and Edging
Lay the dress flat. The yoke band wraps the chest, and the two side seams close below the arms.
- Fold so the back edges meet in the middle and the yoke sits evenly.
- Seam each side from the bottom hem up to about 1.5 inches below the yoke for a newborn, 2 inches for a toddler. The unseamed part is the armhole.
- Work 2 rounds of single crochet around each armhole.
- Work 1 round of single crochet around the hem, then a picot round if you want one: sc, sc, chain 3, slip stitch into the first of those chains, repeated.
Two rounds on the armhole, not one and not four. One leaves the edge curling into the baby’s underarm; four starts to flare and bulk exactly where an arm needs to move.
Finishing, and the Fastening Decision
This is the part worth slowing down for, because it is the only part of a baby dress that carries any risk.
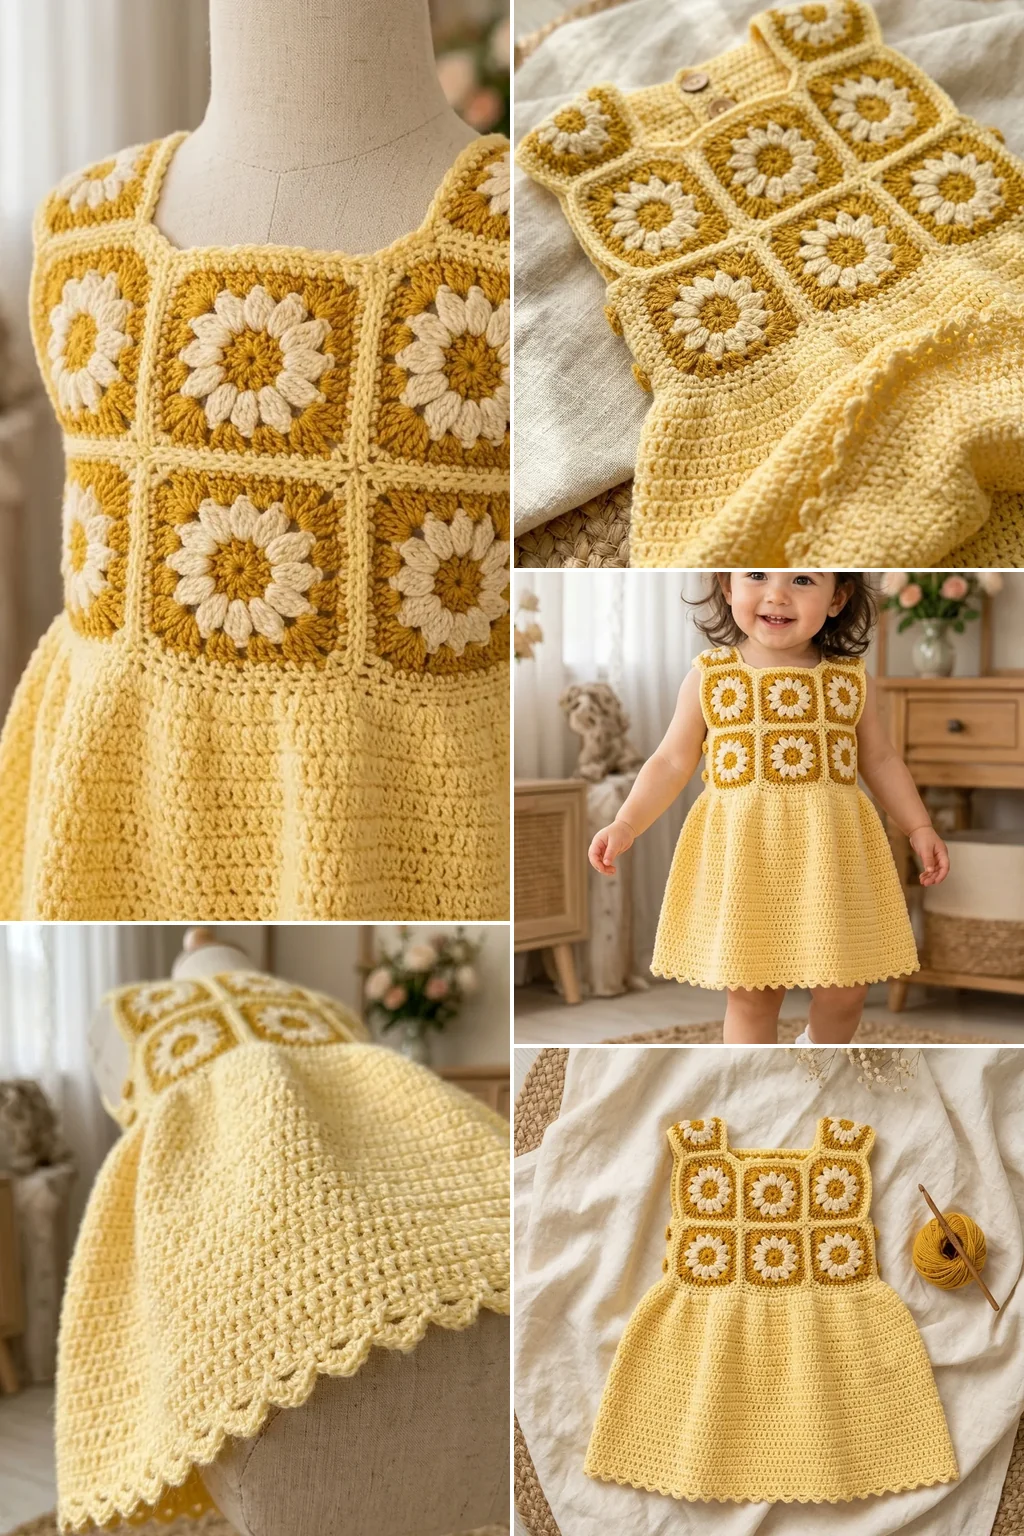
For a baby under about six months, use ribbon ties rather than buttons. A wide envelope neckline or two narrow ties at the top of the back opening are easier to fasten one-handed on a wriggling baby, and there is nothing to come loose. Published baby-garment guidance says the same thing, and it is the recommendation worth following even though buttons look better in a photograph.
If you do use buttons:
- Choose 14 mm or larger. A button that fits through a small child’s mouth is the wrong button, whatever it looks like.
- Sew with doubled sewing thread, not yarn, and work six to eight passes through each hole.
- Check them before every wear. Thread abrades where it passes over the button edge, and the failure is gradual rather than sudden.
Weave every end in along a stitch line for at least two inches, then back on itself for one. A tail that works loose inside a dress ends up in a baby’s hand. Keep all knots and tails on the inside, and run a hand around the inside of the finished dress before it goes anywhere near a child.
9 Sunshine Daisy Baby Dress Ideas
1. Classic Buttercup and Cream
The version described above — yellow skirt, cream petals, gold centres. Reads as summer without being loud, and photographs well against almost any background.
Keep the skirt in the same yellow as the square borders, so the yoke reads as part of the dress rather than a panel stitched onto it.
Advanced beginner · 10 hours · 250 yds
2. White Skirt, Daisy Yoke Only
All the colour in the yoke and a plain white skirt below. The daisies carry the dress and the skirt stays out of the way.
Work the square borders in white too, not yellow, or the yoke ends up framed in a colour that appears nowhere else.
Advanced beginner · 10 hours · 250 yds
3. Rainbow Centres
Cream petals throughout, with each daisy centre a different colour. Uses up oddments and gives you six small decisions instead of one big one.
Lay the centres out before joining and avoid putting two warm colours side by side. A rainbow that steps unevenly looks like a mistake rather than a choice.
Advanced beginner · 10 hours · 250 yds
4. Sage and Cream for Spring
Soft sage green in place of the yellow, cream petals, pale gold centres. Reads as early spring and suits a christening better than a bright yellow.
Go lighter than you think on the green. A deep sage makes the cream petals look grey rather than white.
Advanced beginner · 10 hours · 250 yds
5. Longer Skirt for a Toddler
The same yoke with eight squares and a skirt worked to 11 inches. Sits mid-calf on an 18-month-old and stays wearable through a growth spurt.
Add the second increase row described in step 4. A long skirt on a single increase hangs straight and swings badly when a toddler walks.
Advanced beginner · 13 hours · 350 yds
6. Daisy Dress and Matching Bonnet
Two extra squares become the crown of a bonnet, joined the same way and edged with the same picot.
Make the bonnet after the dress, from what is left. You will know the exact colours and have the tension in your hands.
Advanced beginner · 13 hours · 310 yds
7. Pinafore Version Over a Top
Skip the neckline rows and work two shoulder straps from the front yoke to the back instead. Turns the dress into a pinafore that goes over a long-sleeved bodysuit.
Make the straps adjustable with a button at the back. Shoulder length is the measurement that changes fastest on a baby.
Advanced beginner · 9 hours · 230 yds
8. Single Daisy, Plain Yoke
One daisy square at the centre front and plain double crochet squares either side. Quicker, and it suits a busier yarn where six daisies would be lost.
Put the daisy slightly off centre rather than dead middle. Centred on a six-square yoke means it straddles a join.
Beginner · 8 hours · 250 yds
9. Winter Weight in Merino
The same construction in DK merino with long sleeves worked down from the armholes. Takes the dress into autumn.
Go up to a 4 mm hook and recheck the square. Merino blooms when washed and a square that measured 2.75 inches dry will not stay there.
Intermediate · 14 hours · 380 yds
Common Problems and Fixes
The yoke is too tight to go over the head
The back opening is too short. Extend it downward through the first square of the yoke by undoing one join partway, then edge the new opening. A yoke dress needs the opening to reach at least a third of the way down the band.
The petals lie flat instead of standing up
Round 2 went through both loops rather than the front loop only. The petals have nothing to lift against. It cannot be corrected after the fact — the round has to come out.
The squares are different sizes
Tension drifts as you relax into a repeat, and the first square is usually the tightest. Make one extra and discard the odd one out, or block them all together on a mat.
The skirt flares too much
Two dc into every stitch is a lot of increase on a fine yarn. Work 2 dc into every stitch for the first half and every second stitch for the rest, which gives roughly a third less flare.
The hem ripples
Too many stitches at the bottom, usually from an accidental increase at the turning chain. Count one row against another; if the later row has more, work a row of single crochet decreasing evenly before the picot edging.
The dress twists on the body
One side seam is further up than the other. Lay the dress flat and measure both armholes from the hem before weaving in the seam tails.
Washing and Keeping Its Shape
Cotton takes a machine wash on a cool gentle cycle. Put the dress in a mesh bag so the picot edge cannot catch, and wash it inside out so the raised petals rub against the dress rather than the drum.
Dry it flat. A cotton yoke dress hung on a line stretches from the shoulders under its own wet weight, and the yoke is the one part that cannot be reblocked back without undoing the joins. Lay it on a towel, pat it to the measurements it was made to, and leave it.
Before the first wash, check the buttons. Before every wash after that, check them again.
Frequently Asked Questions
How much yarn does a daisy baby dress take?
About 250 yards of sport cotton for the 0–3 month size, rising to 350 for 12–24 months. The daisies themselves use under 80 yards in total.
What size hook should I use?
3.5 mm with sport cotton, 4 mm with DK. The number that matters is the finished square: aim for 2.75 inches and change hooks if you are far off.
Can a beginner make this?
Yes, if you can work a magic ring and a treble. Everything below the yoke is plain double crochet rows.
How many squares do I need?
Six for the two smallest sizes, seven for 6–12 months, eight for 12–24 months. Work one square, measure it, and divide your target chest by that measurement.
Why work into the front loop only on round 2?
It leaves the back loops free for round 3 and lifts the petals off the surface. Working both loops gives you a flat flower and nothing to build the square on.
Buttons or ribbon ties?
Ties for a baby under six months. Buttons from then on, at 14 mm or larger, sewn with doubled thread and checked before each wear.
Can I make it in acrylic?
You can, and it will hold up. Cotton breathes better against skin and holds the daisy’s shape through washing, which is why most baby dress patterns call for it.
How do I make it bigger as the baby grows?
Undo the hem edging and add rows to the skirt. The yoke sets the chest and cannot be changed, so plan an inch of ease at the start.
Do the squares need blocking?
Block them if they came out uneven. A set that already matches can go straight to joining — cotton motifs hold their shape without help.
How long does the whole dress take?
Eight to twelve hours. The six squares are about ninety minutes of that, and the skirt is the long part.
Final Thoughts
Work one square first and measure it before doing anything else. That single measurement decides the size, the square count and the yarn quantity, and it takes fifteen minutes to find out. Then make the other five without thinking about it. The skirt after that is plain double crochet and asks nothing of you.
Pick the fastening before you start the neckline rather than after. Ribbon ties and buttonholes are built into different rows, and deciding at the end means undoing three rows of single crochet to put the holes in.