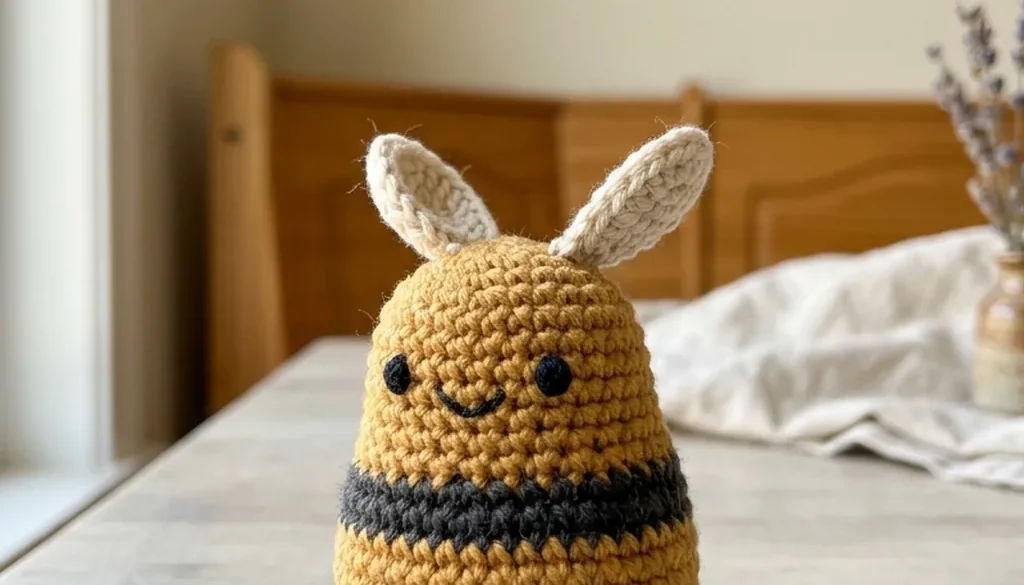
 Clara•🕑 October 12, 2026•💬 No comments
A bee is the project most people finish. It is a ball with stripes, two wings and a face, which means there is no limb to attach at the wrong angle and nothing that has to match anything else. Three hours from magic ring to finished bee, and most of the third hour is the face.
It is also the project where the difference between a tidy amigurumi and a lumpy one shows up plainly, because a sphere hides nothing. Everything below is about getting that sphere right, and then twelve directions to take it once you have.
This is the honey bumblebee amigurumi crochet pattern approach rather than one fixed set of stitch counts: the construction is the same whatever size you work it at, and the yarn you pick decides whether you end up with a keyring bee or a cushion-sized one.
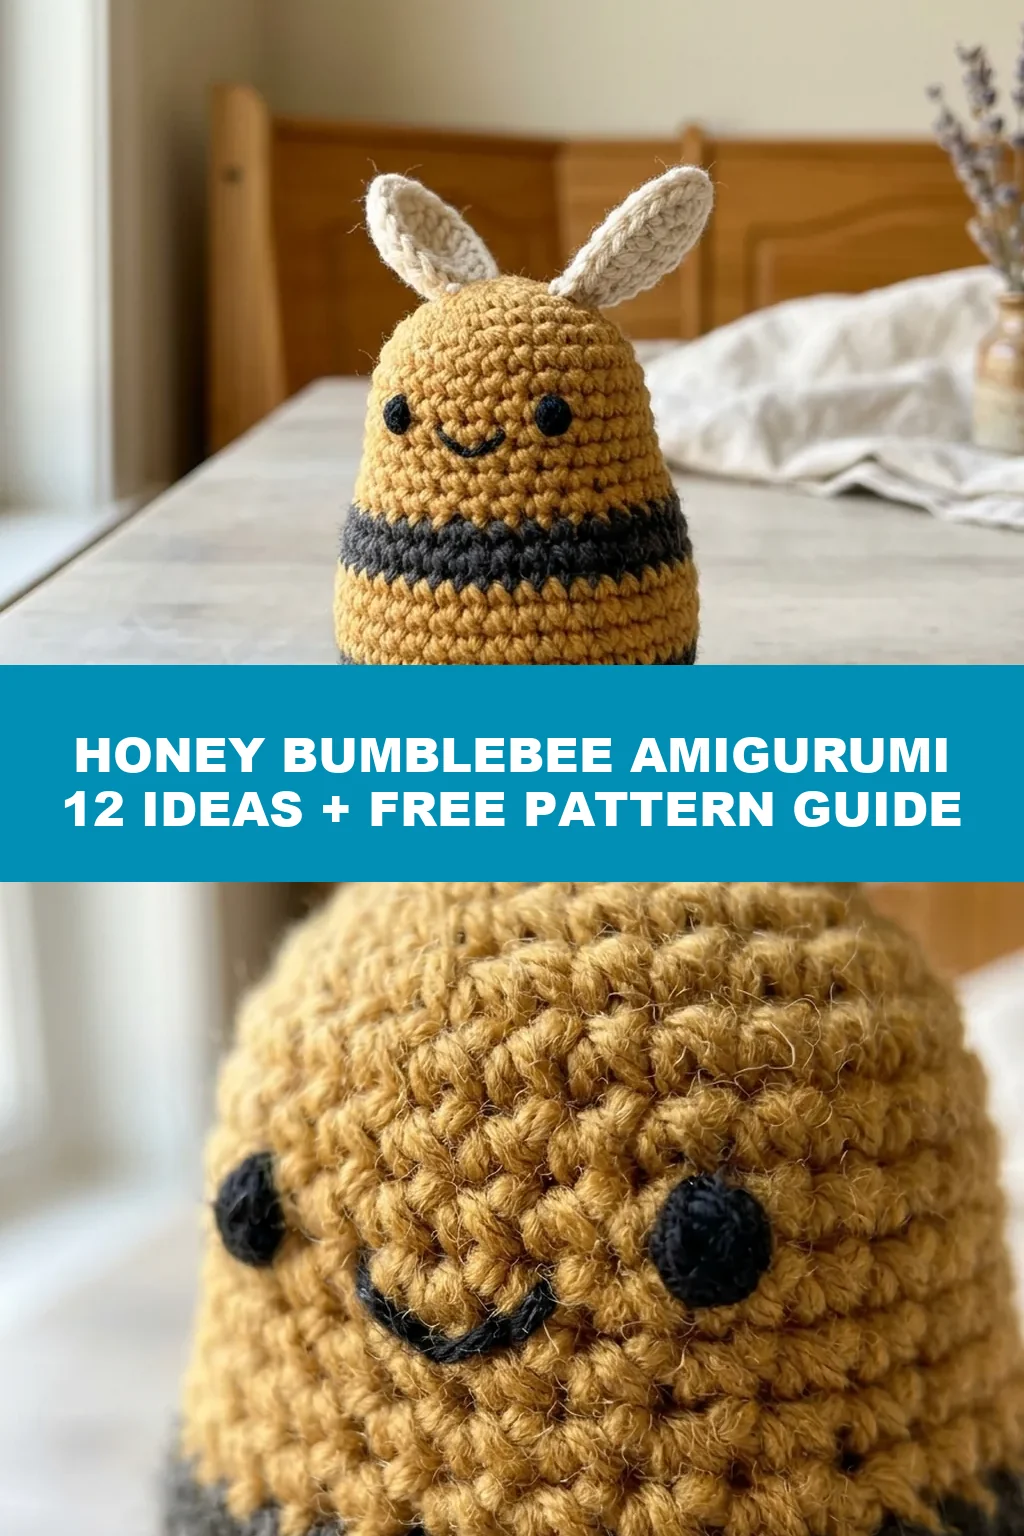
Honey Bumblebee Amigurumi at a Glance
| Skill level | Beginner — magic ring, sc, inc, dec |
| Yarn | DK or worsted cotton, 3 colours |
| Hook | One or two sizes below the label |
| Time | 2–4 hours |
| Worked | In a continuous spiral, never joined |
| Finished size | 3 in in DK, 5 in in chunky |
Materials
- Honey gold — 40 yards of DK cotton for the body.
- Charcoal — 20 yards for the stripes. Not black: charcoal reads as a stripe, black reads as a hole.
- White or cream — 15 yards for the wings.
- Hook one or two sizes smaller than the yarn band says. A 3.0 mm with DK rather than the 4.0 mm on the label.
- Polyester fibrefill. About a handful for a 3-inch bee.
- Stitch marker. Not optional — see below.
- 6–8 mm safety eyes, or black embroidery thread. Which one depends entirely on who the bee is for, and that decision is covered in its own section.
- Tapestry needle.
How an Amigurumi Bee Is Built
One piece for the body, two small pieces for the wings. That is the whole construction.
The body starts with a magic ring of 6 single crochet and grows by increasing evenly on each round until it is as wide as you want, runs straight for a few rounds, then decreases back down the same way it came up. Stuff it before the opening gets too small to work through, close the last few stitches, and the bee is a bee.
The wings are two small ovals worked flat or in the round and sewn on at the end.
Worked in a spiral, never joined
Amigurumi is worked in a continuous spiral. You do not join each round with a slip stitch and you do not chain up at the start — you simply keep going into the next stitch, round after round, so the fabric climbs like a screw thread.
This is why a stitch marker is listed as a material rather than a convenience. In a spiral there is no join to tell you where a round began. Move the marker to the first stitch of each new round as you reach it, and the count stays honest. Without it, you are counting six increases into a fabric with no landmarks, and by round five stitch 4 and stitch 14 look identical.
A spiral leaves a faint diagonal line up the piece where each round steps up. That is normal and every amigurumi has one. Put it at the back.
The shape of the rounds
Every amigurumi sphere follows the same skeleton, whatever the pattern calls it. Rounds 1 to 4 increase, the middle rounds run straight, and the closing rounds decrease by the same amounts in reverse:
- Round 1: 6 sc into a magic ring.
- Round 2: 2 sc in each stitch. (12)
- Round 3: 1 sc, 2 sc in the next, repeated. (18)
- Round 4: 2 sc, 2 sc in the next, repeated. (24)
- Rounds 5–10: 1 sc in every stitch, no increases. The stripes go across these rounds.
- Then reverse: 2 sc, dec, repeated (18); 1 sc, dec (12); dec around (6).
- Thread the tail through the last 6 stitches and pull closed.
Each increase round adds one more plain stitch between increases than the round before. That single rule generates a flat-topped sphere at any size — add a fifth increase round for a bigger bee and the decreases mirror it.
Stuff when the decreases are about halfway done and the opening is still wide enough to get two fingers in.
The Wings
Two small ovals, worked in the round so both edges are finished and neither curls.
Chain 6, then work 2 sc into the second chain from the hook, 1 sc in each of the next 3, and 4 sc into the last chain. Turn the work to come back along the other side of the foundation chain: 1 sc in each of the next 3, 2 sc into the final chain, and slip stitch to close. One round gives a small wing; a second round around the whole oval gives a larger one.
Work both wings before sewing either on, and lay them side by side. A pair that differs by one stitch is visible on a bee in a way it would never be on a blanket.
Two placements both work. Upright on the upper back gives the rounded loaf-style bee; angled out and back gives a bee caught mid-flight. Pick one and keep both wings to it — what makes either look wrong is sewing them at a single point, so stitch along the whole base of each wing, two or three stitches wide, and it hinges instead of pivoting.
The Hook Rule, Which Decides Everything
Use a hook one or two sizes smaller than the yarn band recommends. Published beginner patterns say this and it is the single instruction that most changes the result.
The reason is stuffing. An amigurumi is a fabric bag with filling pressed against it from the inside. At the hook size on the label, the stitches are open enough that white fibrefill shows through the gaps between them, and a honey-gold bee ends up looking dusty. Drop a size or two and the fabric becomes dense enough to contain what is inside it.
The cost is that it is harder on your hands. Small, tight single crochet in cotton is the least forgiving combination in crochet, which is an argument for making a bee rather than something larger as a first project.
Working the Stripes
The stripes are colour changes, not a separate piece. Work the last stitch before the change until two loops remain on the hook, then finish that stitch with the new colour. The change then happens cleanly at the stitch boundary instead of leaving a half-and-half stitch.
Two rounds gold, two rounds charcoal is the proportion that reads as a bumblebee. One round of each reads as a stripe pattern; three or more reads as a wasp.
Carry the unused colour up the inside rather than cutting it each time. Four ends instead of sixteen, and on a piece this small every woven end adds a lump you can feel through the fabric.
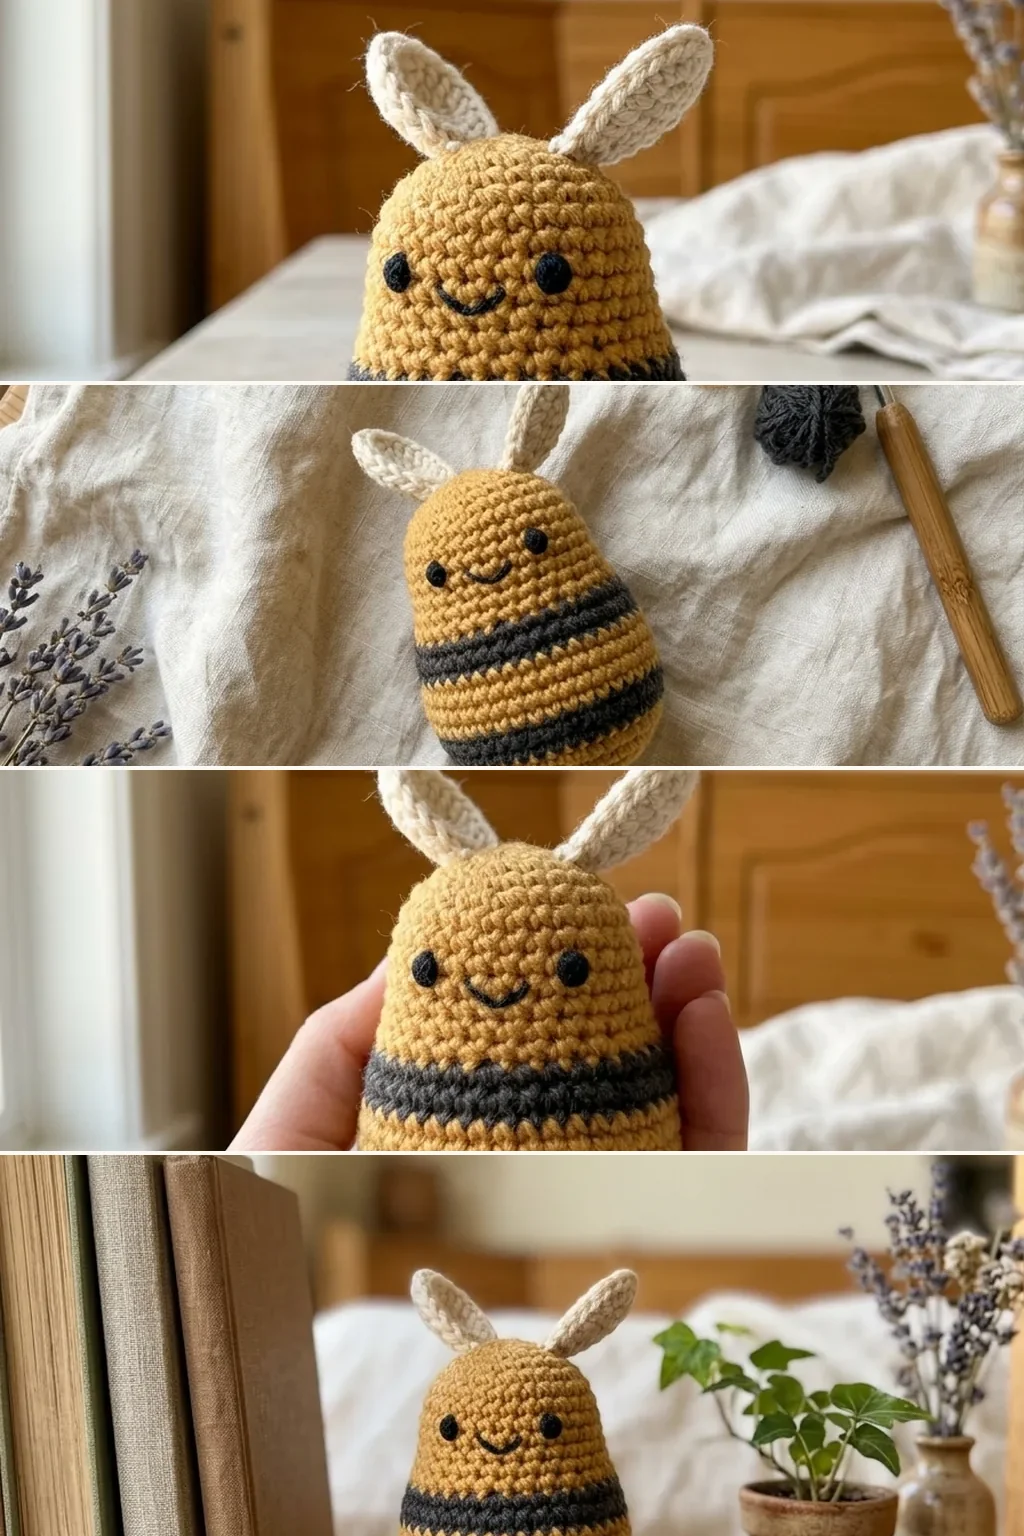
Eyes: the Decision That Depends on Who It Is For
This section matters more than the rest of the pattern combined, so it is worth being plain about it.
If the bee is for a child under three, do not use safety eyes. Embroider them.
Safety eyes are plastic discs held by a washer pushed on from the inside. The name describes how they attach, not who they are safe for. In the US, the Consumer Product Safety Commission’s small-parts rule covers toys intended for children under three, and a component that fits inside the small-parts test cylinder is not permitted in those toys. A safety eye is exactly that kind of component. Sellers of safety eyes carry choking-hazard warnings on their own listings saying as much.
Embroidered eyes have no failure mode. Two French knots in black thread, or a small satin-stitch oval, give a bee more character than plastic does anyway, and nothing can be worked loose by a determined toddler.
If you are using safety eyes
- 6 to 8 mm on a 3-inch bee. 10 mm starts to look startled.
- Insert them between rounds, not through a stitch — pushing a shank through the middle of a stitch distorts it permanently.
- Two to three stitches apart. Close together reads as sweet, far apart reads as alarmed.
- Hold them in position and look at the bee from arm’s length before pushing the washers on. The washer does not come off. There is no second attempt.
- Press the washer on hard, from the inside, before any stuffing goes in.
Stuffing, and Why Most First Attempts Are Lumpy
Add the fibrefill in small pinches, pressing each one into place before the next. A single large wad produces exactly the lumpy sphere everyone’s first amigurumi is, because the wad keeps its own shape and the fabric takes it on.
Firm enough to hold a round shape, not so firm that the stitches visibly stretch apart. If you can see white through the fabric, you have either overstuffed or used too large a hook, and at that point it is almost always the hook.
Stuff the head end fully before the opening narrows. Trying to push filling through a 6-stitch hole at the end with a chopstick is how a finished bee ends up with a hard lump at the bottom and a soft top.
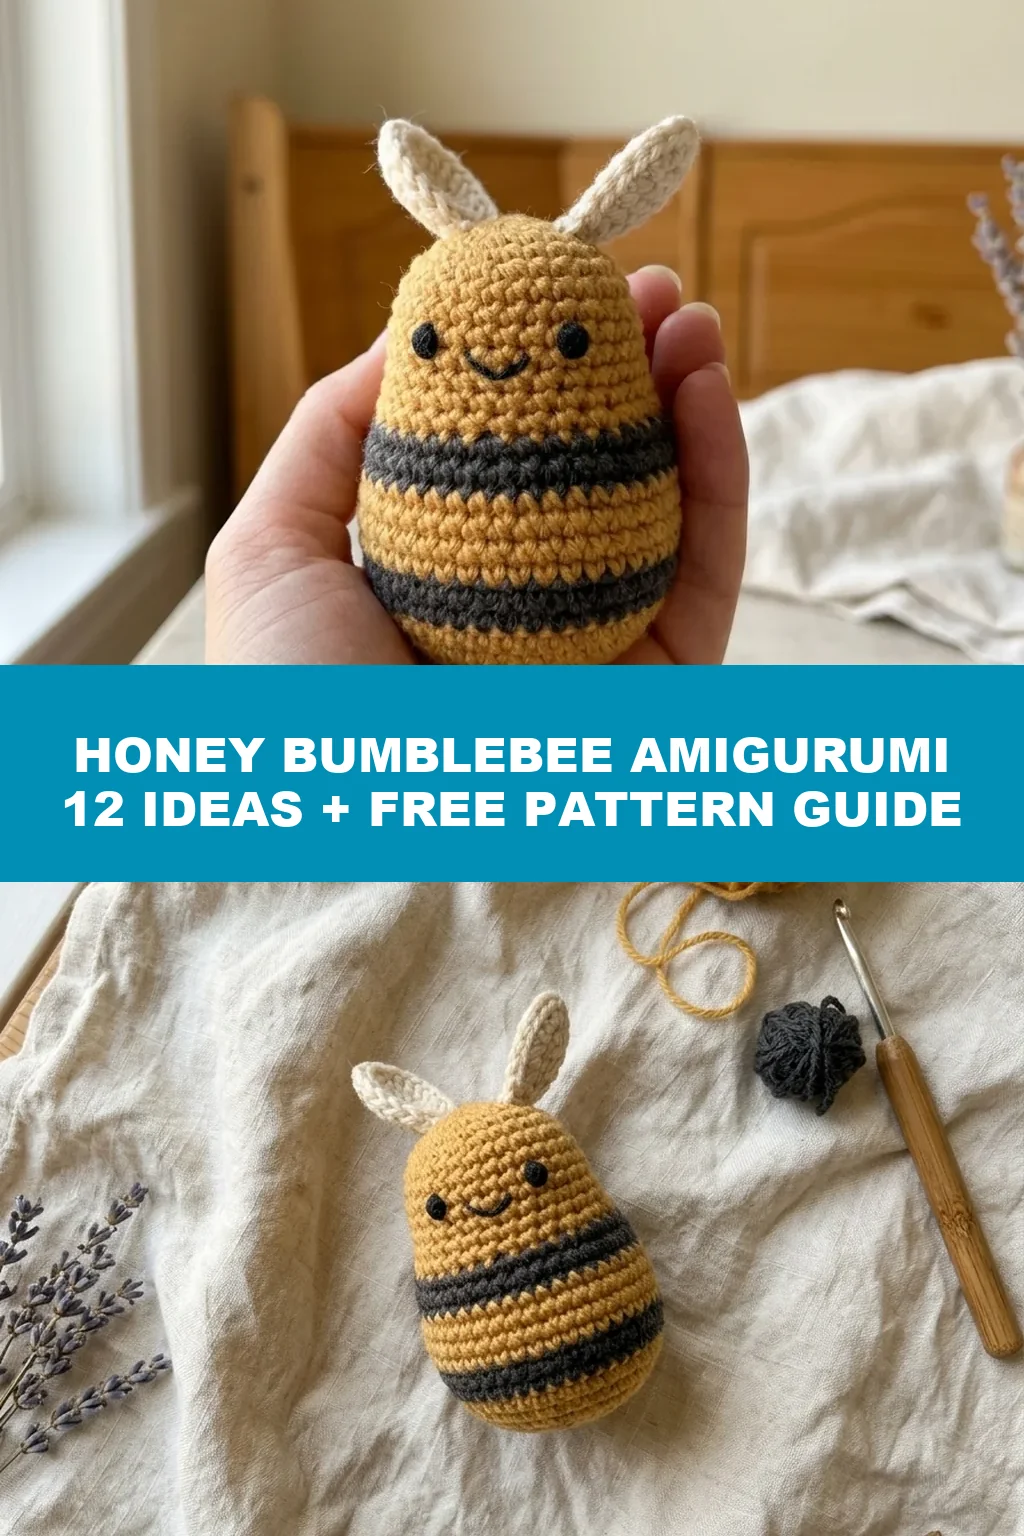
12 Honey Bumblebee Amigurumi Ideas
1. Classic Honey and Charcoal
The version above. Honey gold body, charcoal stripes, cream wings, embroidered eyes. The proportions that read as a bumblebee rather than a hornet.
Keep the wings slightly undersized. Oversized wings make the body look deflated.
Beginner · 3 hours · 75 yds
2. Keyring Bee
The same construction in 4-ply cotton on a 2.0 mm hook, finishing about 1.5 inches. A swivel clasp through the top of the head.
Use embroidered eyes regardless of who it is for — at this scale a safety eye takes up half the face.
Beginner · 90 min · 25 yds
3. Chenille Cuddle Bee
Chunky chenille on a 5.0 mm hook, finishing around 6 inches and weighing almost nothing. The yarn that makes a bee a toy rather than an ornament.
Chenille hides stitch definition, so count obsessively. You cannot read your rounds back in it.
Beginner · 2 hours · 90 yds
4. Lavender Bee
Soft lavender in place of the gold, with cream stripes. Reads as a decoration rather than an insect and suits a nursery shelf.
Lower the contrast between the two colours or the stripes fight the pastel.
Beginner · 3 hours · 75 yds
5. Bee With a Flower
A small five-petal flower sewn to one side so the bee appears to be landing on it.
Sew the flower on before stuffing is finished, so you can get a hand inside to anchor the stitches properly.
Beginner · 3.5 hours · 85 yds
6. Bee Garland
Five or seven small bees threaded onto a cord with a wooden bead between each. A nursery or window decoration.
Odd numbers. Thread the cord through the body before closing it rather than sewing a loop on afterwards.
Beginner · 6 hours · 130 yds
7. Sleeping Bee
Two curved lines of black thread instead of open eyes, and the wings folded flat against the back.
Curve the lines downward at the outer ends. Upward reads as a grin, straight reads as unconscious.
Beginner · 3 hours · 75 yds
8. Bumblebee Rattle
A plastic rattle insert sealed inside the stuffing. Fully embroidered face, no plastic anywhere on the outside.
Wrap the insert in a layer of fibrefill before it goes in, or it migrates to one end and knocks against the fabric.
Beginner · 3.5 hours · 80 yds
9. Honeycomb Base
The bee sitting on a small hexagonal honeycomb coaster worked in the same gold. Turns one ornament into a small set.
Work the hexagon flat in half double crochet. A double-crochet hexagon ripples at this size.
Beginner · 4 hours · 110 yds
10. Tiny Bee Brooch
A 1-inch bee, understuffed deliberately so it sits flat, with a brooch pin sewn to the back.
Sew the pin to a small backing circle first, then sew that circle to the bee. A pin sewn straight to the body tears through the fabric.
Beginner · 1 hour · 20 yds
11. Bee Family in Three Sizes
The identical pattern at 2, 3 and 4 inches by changing only the yarn weight. The clearest demonstration there is that gauge, not stitch count, sets amigurumi size.
Work them in the same order as the sizes so the tension you build carries forward.
Beginner · 7 hours · 190 yds
12. Scrappy Rainbow Bee
Every stripe a different colour from the oddments jar, with the wings in whatever is left.
Keep all the stripes to a similar value, even across different hues, or one band jumps out as a mistake.
Beginner · 3 hours · 75 yds
Common Problems and Fixes
The stuffing shows through the fabric
The hook is too big. Go down one or two sizes and remake it — there is no fix after the fact, and at three hours a bee is cheap to redo. Dyeing the fibrefill with a tea bag is a workaround people suggest; it is not a fix.
The bee is lumpy rather than round
Stuffing added in wads instead of pinches. Take it out through the opening and refill in small amounts, pressing as you go.
I lost count and the sphere went lopsided
The stitch marker was not moved, or was not there. In a spiral there is nothing else to count against. Mark the first stitch of every round as you reach it.
The colour change leaves a stepped jog
A spiral always steps. Making the change on the last stitch of the round before, pulling the new colour through the final two loops, reduces it to about a half-stitch. Put what remains at the back.
The wings will not sit flat
They were sewn at a single point. Stitch along the whole base of each wing, two or three stitches wide, so the wing has a hinge rather than a pivot.
The face looks wrong and I cannot say why
It is almost always eye spacing. Two to three stitches apart on a 3-inch bee. More than that and the bee looks alarmed — which is the single most common first-amigurumi problem, and the reason to check from arm’s length before any washer goes on.
Sizing: Let the Yarn Decide
Amigurumi patterns rarely give a gauge, because the stitch counts hold at any size and the yarn sets the scale. The same rounds worked in three weights give three bees.
| Yarn | Hook | Finished bee | Yarn used |
|---|---|---|---|
| 4-ply / fingering | 2.0 mm | 1.5 in | 25 yds |
| DK | 3.0 mm | 3 in | 75 yds |
| Worsted | 3.5 mm | 4 in | 110 yds |
| Chunky chenille | 5.0 mm | 6 in | 90 yds |
Chenille uses less yardage than worsted for a bigger bee because the yarn is bulkier per yard. Scale the safety eyes with the body, or skip them, as above.
A set of bees in three weights makes the point better than any explanation: same instructions, same counts, three different animals. If small repeatable projects suit the time you have, a crochet bow keychain works through oddments at about the same scale and finishes in a similar sitting.
Washing and Keeping Its Shape
Hand wash only, and only when it needs it. Press the bee gently in lukewarm water with a little wool wash, squeeze — never wring — and press it between towels.
Dry it flat and reshape it while damp, rolling it between your palms to bring the sphere back. Fibrefill clumps when it is wet and stays clumped if it dries that way.
Never put an amigurumi in a machine. The fabric survives; the stuffing migrates and does not come back.
Frequently Asked Questions
How much yarn does an amigurumi bee take?
About 75 yards of DK across all three colours for a 3-inch bee, and 25 yards for a 1.5-inch one in 4-ply.
What hook should I use?
One or two sizes below the yarn band — 3.0 mm with DK rather than 4.0 mm. A tighter fabric is what stops the stuffing showing through.
Do I join each round?
No. Amigurumi is worked in a continuous spiral with no joins and no turning chains. Mark the first stitch of each round so you can count.
Are safety eyes safe for babies?
No. The name describes how they attach, not who they suit. For a child under three, embroider the eyes instead — the US small-parts rule covers toys for that age group, and a safety eye is the kind of component it excludes.
How far apart should the eyes go?
Two to three stitches on a 3-inch bee, inserted between rounds rather than through a stitch. Check from arm’s length before pressing the washers on, because they do not come off.
Why does my stuffing show through?
The hook is too large for the yarn. It is not a stuffing problem and no amount of restuffing fixes it.
How firmly should I stuff it?
Firm enough to hold a round shape, not so firm the stitches stretch apart. Add it in pinches rather than wads.
Can a complete beginner make this?
Yes. A bee needs a magic ring, single crochet, increase and decrease, and nothing else. There are no limbs to place and no shaping to match.
How do I stop the stripes jogging?
Change colour on the last stitch of the previous round, pulling the new colour through the final two loops. A spiral always steps slightly; put the step at the back.
How long does one bee take?
Two to four hours, and the face takes longer than you expect. The body itself is about ninety minutes.
Final Thoughts
Make the first bee in a yarn you do not care about, on a hook that feels a size too small, and accept that it will be slightly lopsided. The second one will not be, because the only thing separating them is having moved a stitch marker sixty times.
Decide the eyes before you start rather than at the end. Embroidered eyes go on before stuffing, safety eyes go in before stuffing too, and both decisions are difficult to reverse once the body is closed. If the bee is destined for a baby — the same audience as a sunshine daisy baby dress — that decision is already made for you.